Trips – Trip Designer
Creating A Trip Product
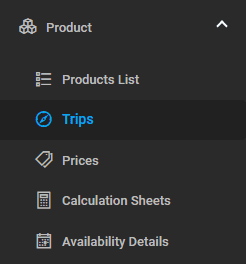
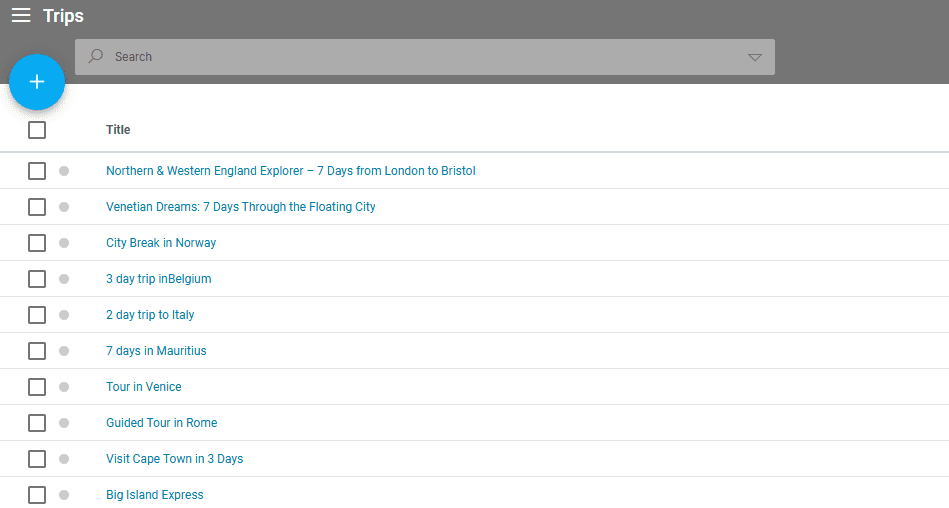
To add a trip product, navigate to Product/Trips via the left side menu and click on the + symbol.
In the window that opens, set the basic parameters for your trip.
- Trip Title
- Product Code
- Country/Area
- Category
- Type – Arrangement, Itinerary, or Both.
- Currency
- Languages
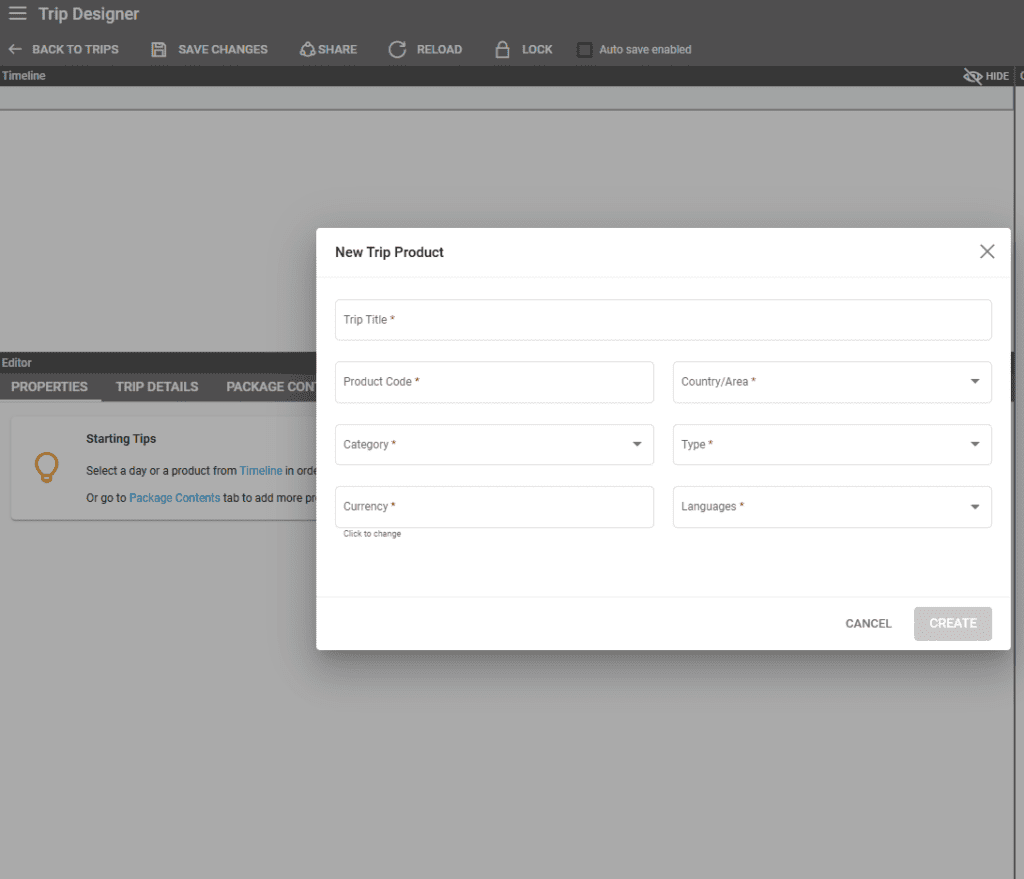
After completing all the fields, click on CREATE to finalize the creation of your trip product. This trip product will automatically appear in the Product list with the same code, effectively making the trip a product in its own right. Products associated with trips will display a trip icon in the product list.

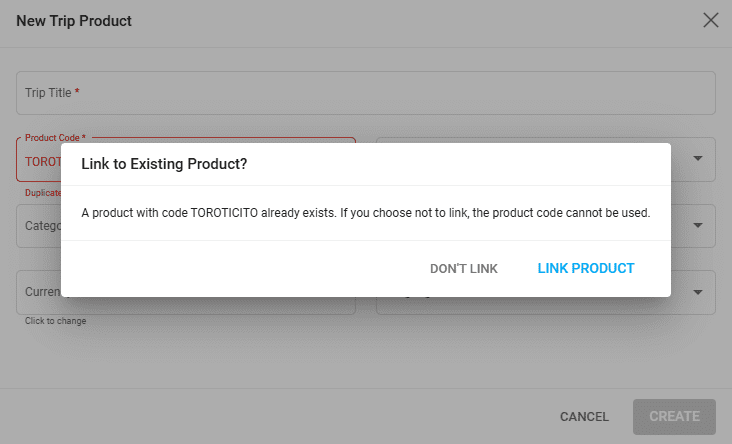
Creating A Trip Related to A Product
To create a trip for an existing product in the product list, use that product’s code. The system will prompt you to confirm if you wish to link the Trip Product to the existing product. Click Link Product if you’d like to use the existing product.
Main Sections of The Trip Designer Tool
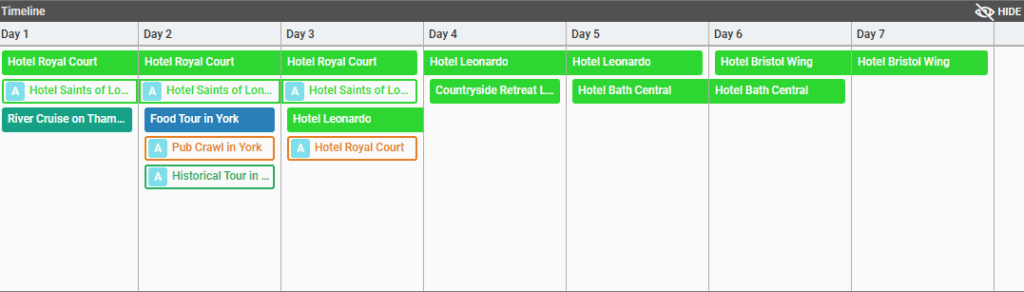
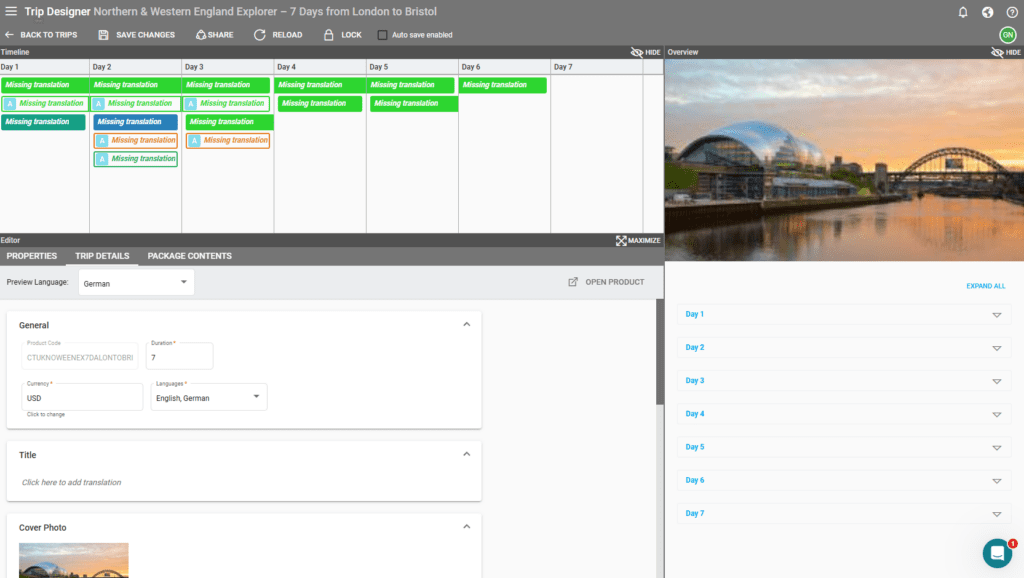
1. Timeline
Displays the itinerary, including the products planned for each day.
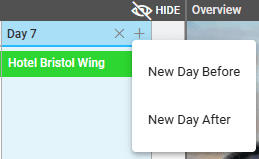
New days can be added by hovering over an existing one and clicking the + button. A day can be deleted by clicking on the X button after which a confirmation window is displayed.
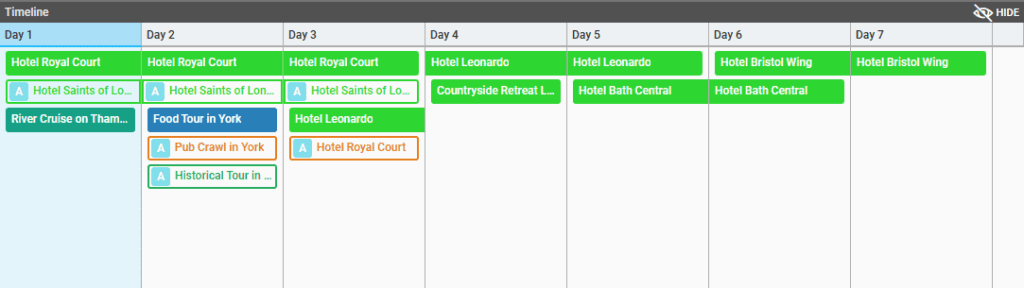
Days are selected by clicking on the “Day X” header and will be highlighted blue once selected.
Products can be selected by clicking on their row in the timeline. Their Properties tab is opened immediately after. Alternative products have an A before their name and their section in the timeline is outlined only.
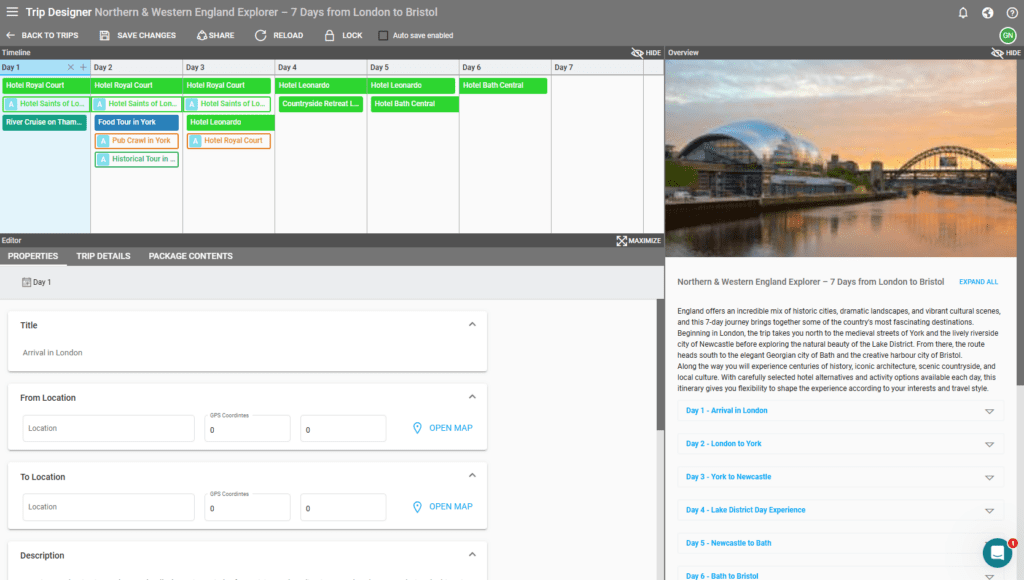
2. Editor
- Enables editing of PROPERTIES for each day (title, GPS location, descriptions, images) once the day has been selected.
- Allows for separate editing of PROPERTIES for each product (product name, product itinerary with descriptions for each day, images, and general description) once it has been selected.
- Facilitates modification of TRIP DETAILS (title, cover photo, introductory/concluding text, services included/not included).
- Outlines PACKAGE CONTENTS (the structure of the trip, including all additional options).
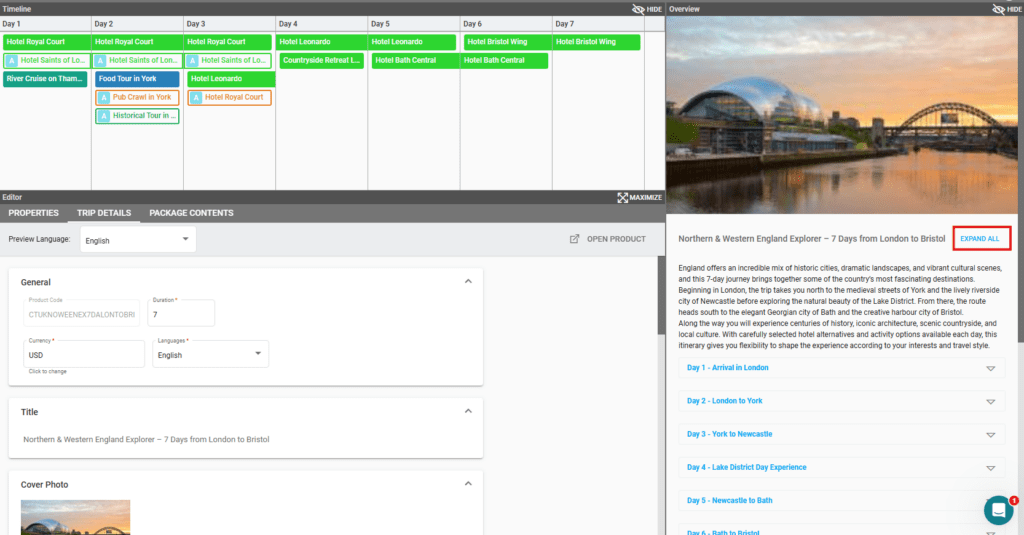
3. Overview
Provides a summary view of your day-to-day plan after inputting all details and products for your trip. All days can be expanded by clicking on the “Expand all” button, and closed by clicking on the “Close all” button.
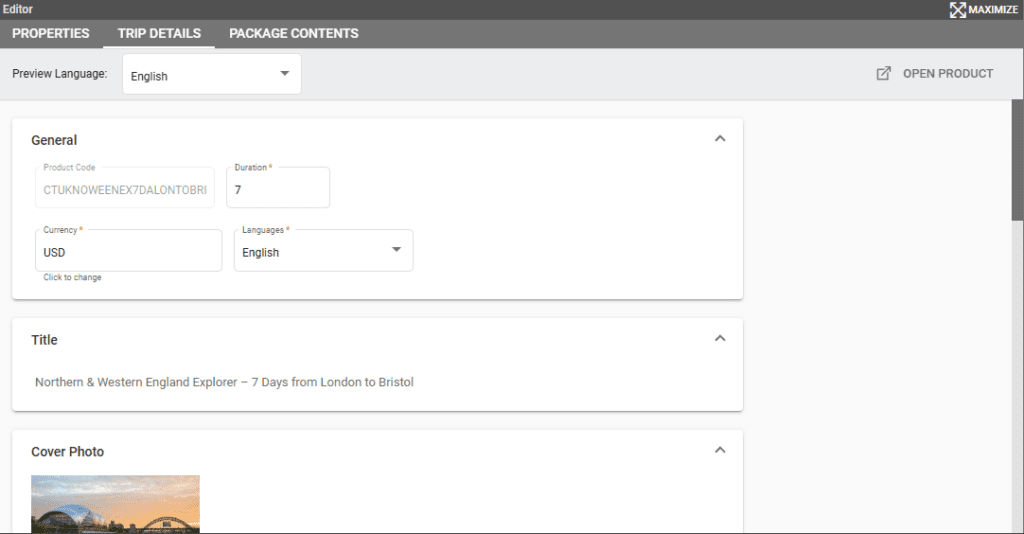
Editor Section – Trip Details
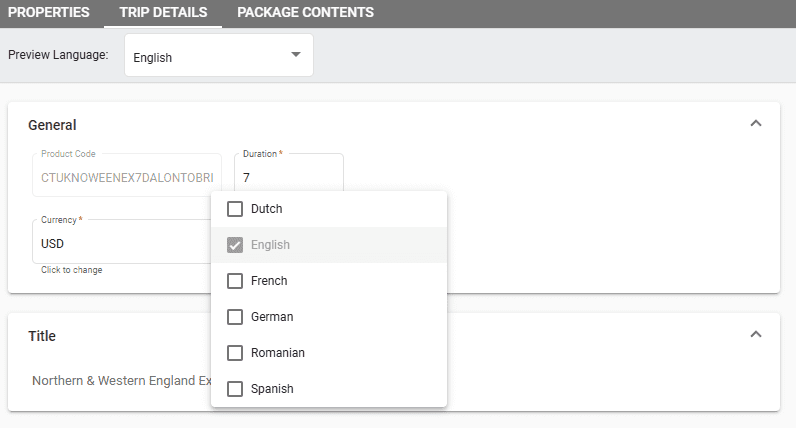
- Preview Language – Displays trip details in the selected language, accommodating multiple translation languages for products and days.
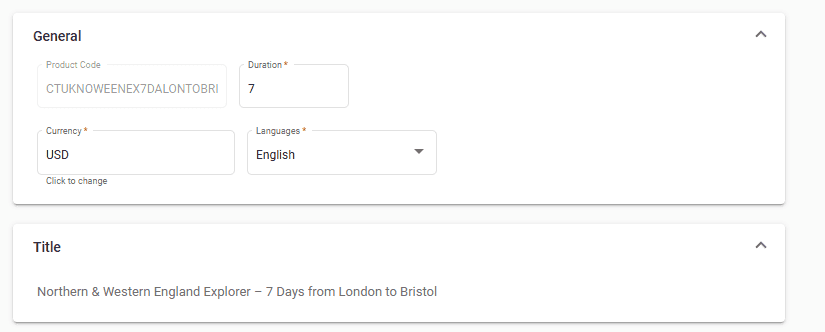
- Product Code – This field is not editable.
- Duration – Adjust the number of days for the trip (initially set to one day).
- Currency – Define the currency.
- Languages – Include all languages for translated texts of the trip.
- Title – Supports multiple languages.
- Cover Photo – The main visual representation of the trip for link sharing or on templates/websites.
- Translated Texts: Intro, Outro, Included, Not Included – Texts for various uses (sharing links, PDFs, itinerary deals, etc.)
To set different texts in the trip, there’s also an option to utilize text from a product:

Selecting +USE PRODUCT allows you to search and select a product whose description will be used as the introduction text with all its translations.
Editor Section – Package Contents
Adding Products
To include products in your trip, follow these steps:
1 – Identify the day you wish to add a product to by selecting it in the Timeline. It will be highlighted.
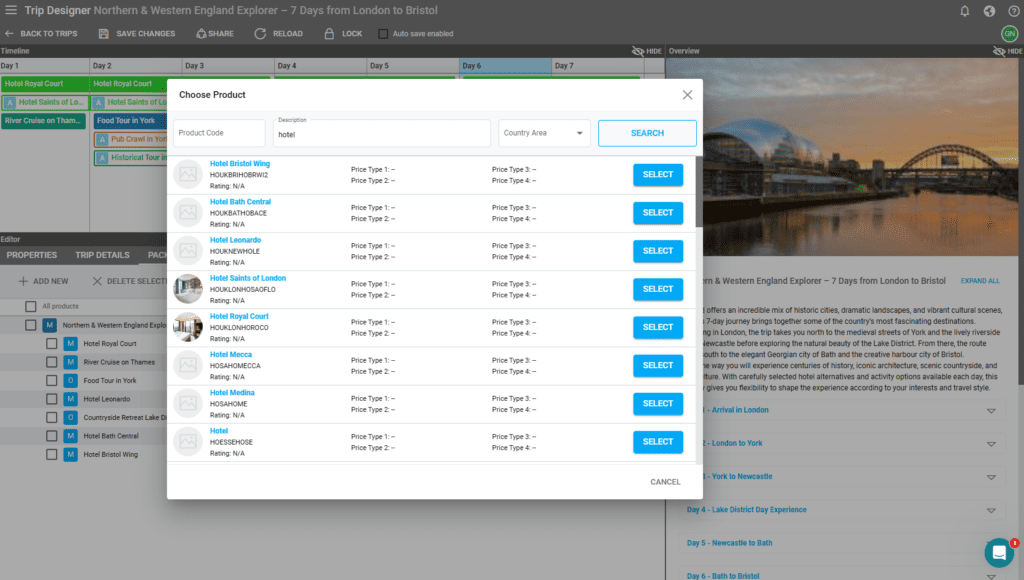
2 – Navigate to PACKAGE CONTENTS in the Editor section and click + ADD NEW. You have two options:
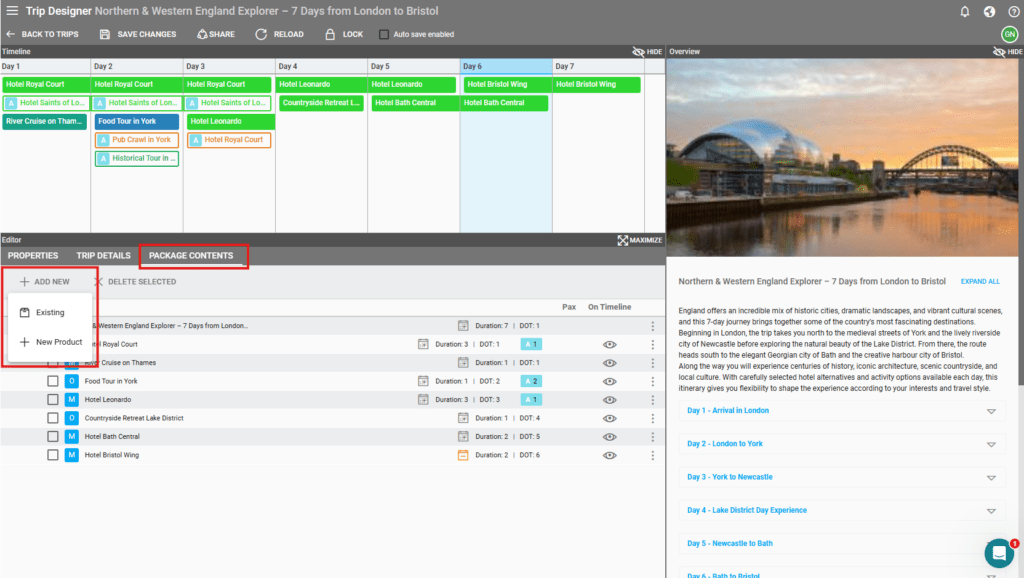
Add an existing product from the product list using search functions. After locating the product, click SELECT. This imports the product’s main image and description into the Trip Designer. When importing an existing product, its first main image found (that has as Scope=Main) is imported in the trip designer, along with its description.
Add a new product (this newly created product will be added in the trip and also as a new product in the product list)

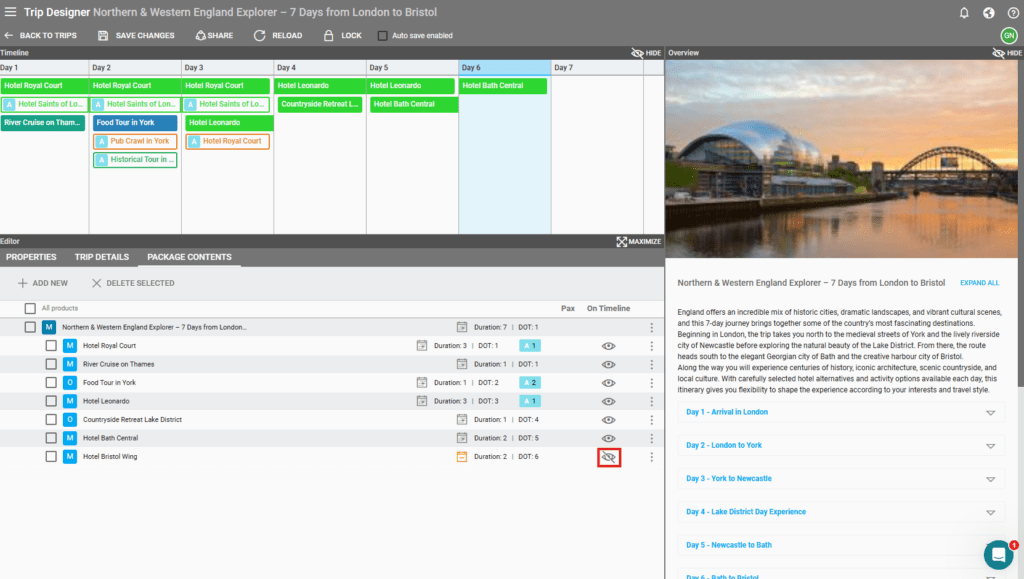
Modifying Products
After adding products, you can manage their visibility on the timeline using the eye icon. You can drag and drop products between days, or extend a product’s duration over multiple days as needed by dragging one of the ends of its section. For non-consecutive days, add the product multiple times.
It is not a problem if you have placed a product on the wrong day because you have the possibility to drag and drop products from one day to another or to extend the duration of a product to more than one day by dragging it to cover the number of days needed.
If there is a product to be placed for more than one day but not consecutively, you have to add it more times. For example, if your product is placed on day 3, day 5, and day 7, you will add it three times.
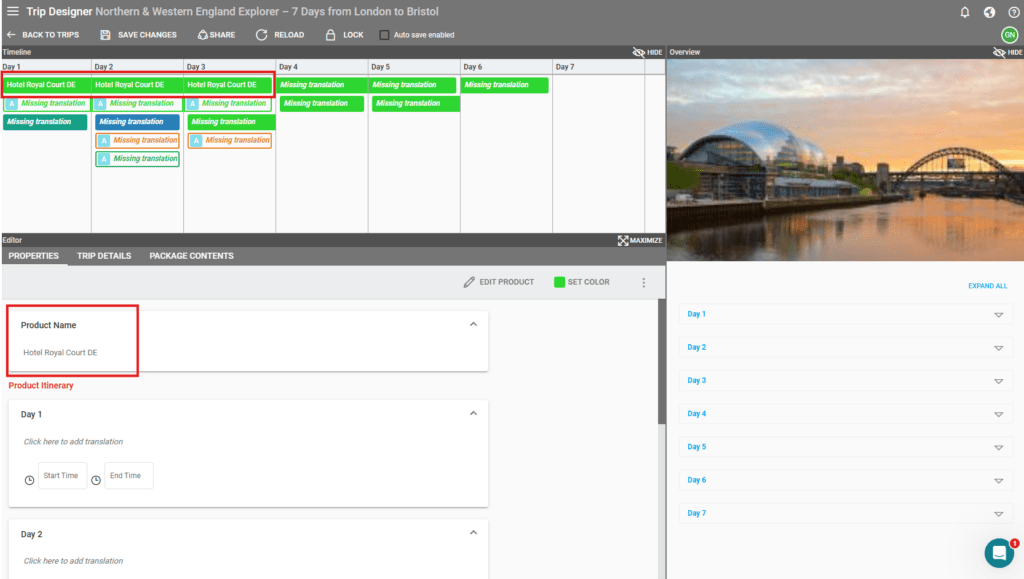
Adding Images and Information to Products or Days
To attach images, set descriptions for each day of the product, or to set a start and end time, click on the product in Timeline, and after that click PROPERTIES in Editor section and fill in all the information you need. Product name and texts are all multi-language.
The fields available for days are:
- Title of the Day
- From Location
- To Location
- Description
- Multimedia Images
The available fields for a product are:
- Product Name
- Product Itinerary – with a field for each day where the starting and end time can be added, along with a description.
- Multimedia Images
- General Description
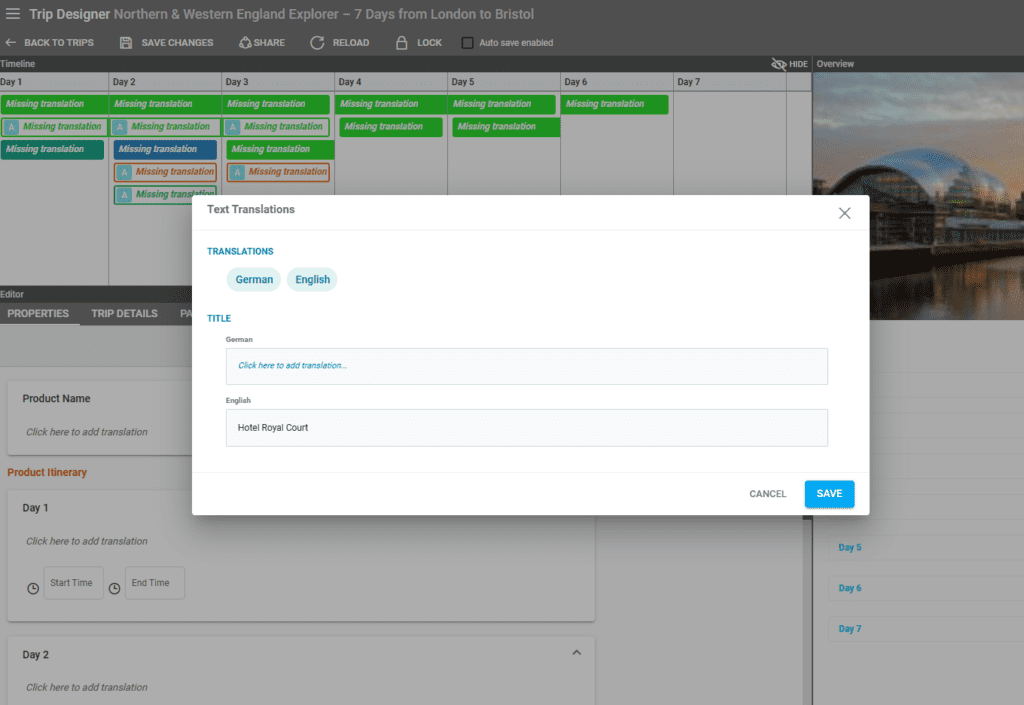
Adding Text in Multiple Languages
To add text in other languages, first the languages will need to be selected in Trip Details through the “Languages” drop down list. After this, the newly added languages can be selected in the “Preview Language” drop down list.
If text is not added in that language, the fields that do not have the translated text will show as “Missing translation”.
Text can be added by selecting the respective product or day and adding text in the missing fields. When adding the product to the trip designer, multilanguage text is also used if it exists on the product level in Texts.
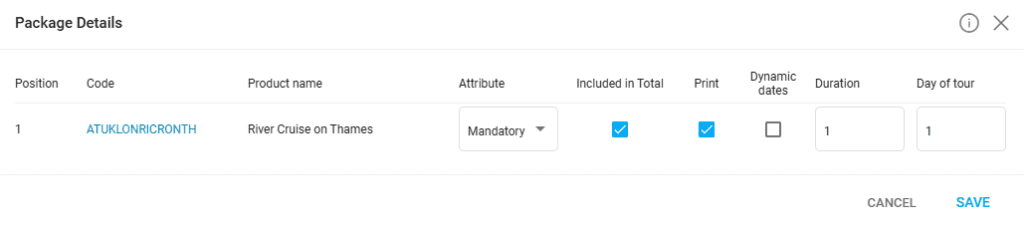
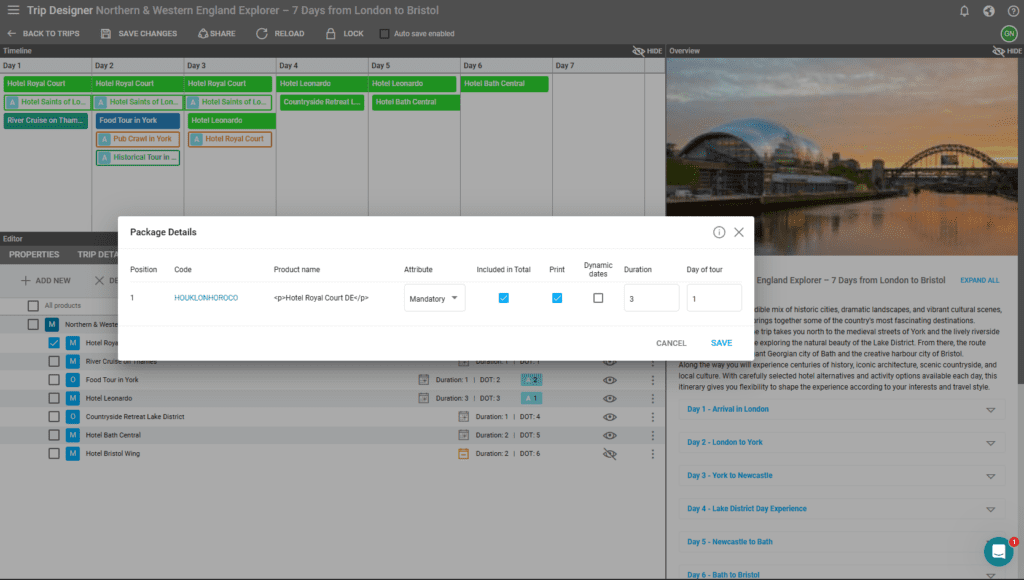
Edit Package Contents
Within PACKAGE CONTENTS, after adding options, you can edit the Package Details. Set the Attribute for each product regarding price inclusion, print options, duration, and day of the tour, crucial for arranging bookings.
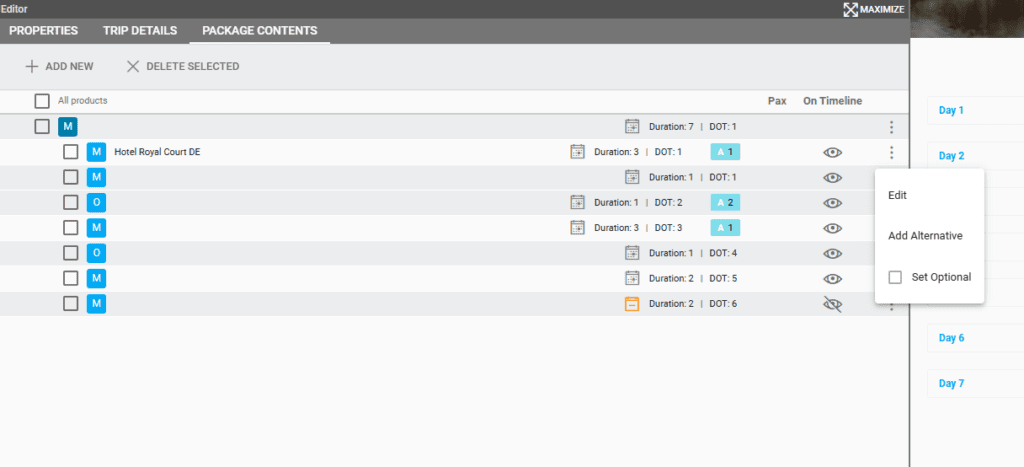
Attribute Types for Products
Mandatory – Automatically included in the package.
Optional – Included if selected during booking or reservation editing.
Mandatory-optional – Included by default, regardless of customer selection during booking.
Buy – Does not create an arrangement; used for price calculations and supplier orders if booked.
Info – For informational purposes, does not create an arrangement; used in itinerary deals.
Add Alternative Products
Alternative – product will replace the supplement product if linked to it – this will happen in the booking process, or, when editing arrangements of a Deal.
An Alternative product can be added to any product supplement which is not a main package product, and its attribute is either mandatory or optional. A product supplement can have more than one alternative product and it has the same definitions as the product supplement it is linked to.
Only mandatory (except the main package product – even if it is added as a sub-package in a package) and optional supplement products can have alternative products linked to them.
Adding alternative for the main package product added inside another package is not allowed.
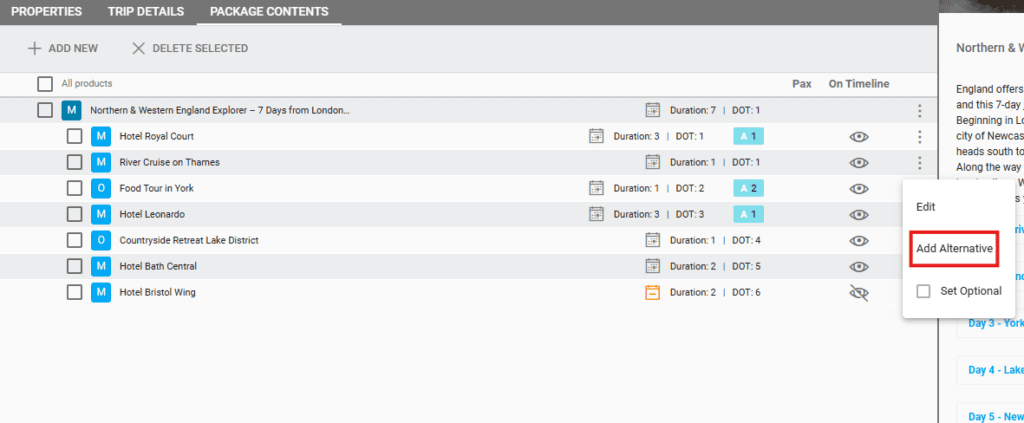
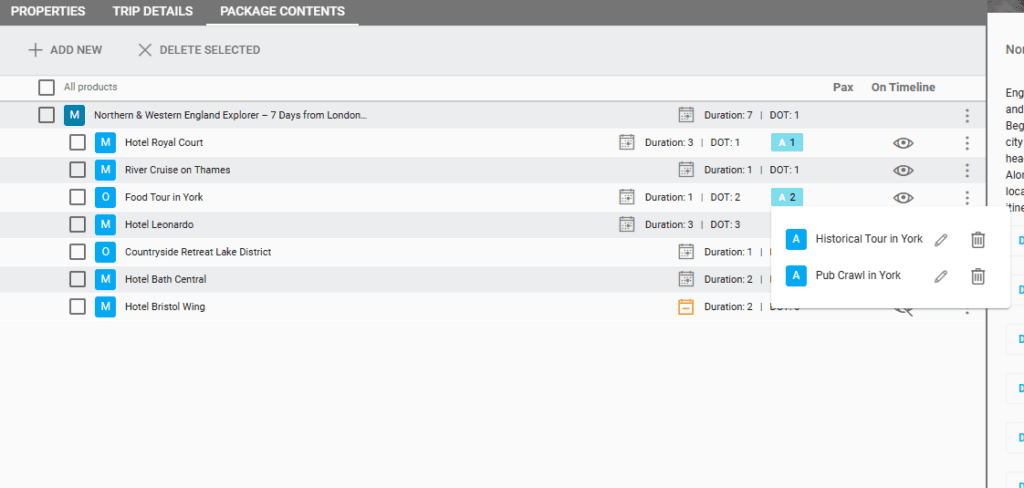
In the screenshot below we have set Alternatives for Food Tour in York.
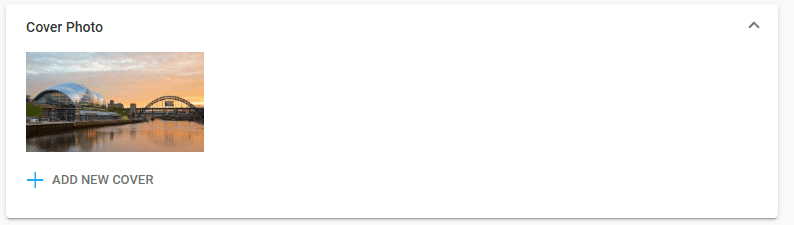
Adding The Cover Photo
In the section Editor/TRIP DETAILS you can add a cover photo for the trip using the +ADD NEW COVER button.
After you have clicked on the +ADD NEW button, three options are displayed:
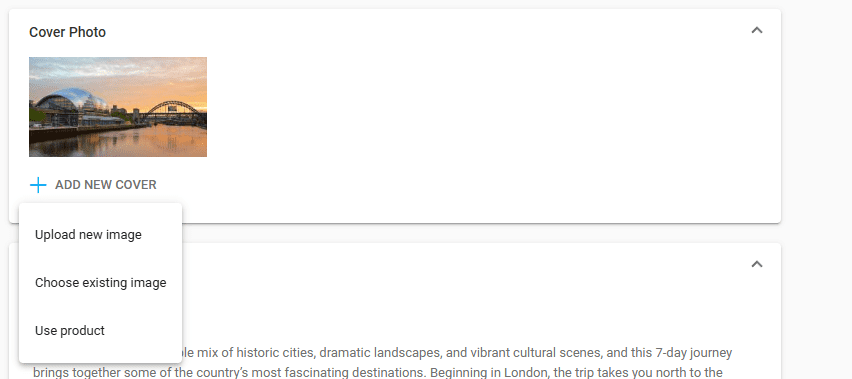
- Upload a new image – from your server/computer
- Choose an existing image – already existing in the library of Victoury
- Use Product – that means you have the possibility to search and choose an existing product from the Product List from which the first occurrence of Main type image is loaded as the cover image for the trip
Changing The Day By Day Plan
The day-to-day plan is displayed in the Overview section. In order to change it, you have to make the changes on each day and each product using PROPERTIES from the Editor section.
To change the description of a day, select the proper day from Timeline and click on PROPERTIES. Once you have done this, you may edit the daily title and description (multi-language) of your journey and add the locations From/To.
Also, you can edit any product that has been already set up for your day-to-day plan, in the same way, explained above: select the product from Timeline and click PROPERTIES.
You will see that if a product extends to more than one day, PROPERTIES from the Editor section permits you to edit the description and start and end time for each day of the product duration, in other words, you set here your Products Itineraries.
These details are visible on the Overview side where the day-to-day plan is displayed.
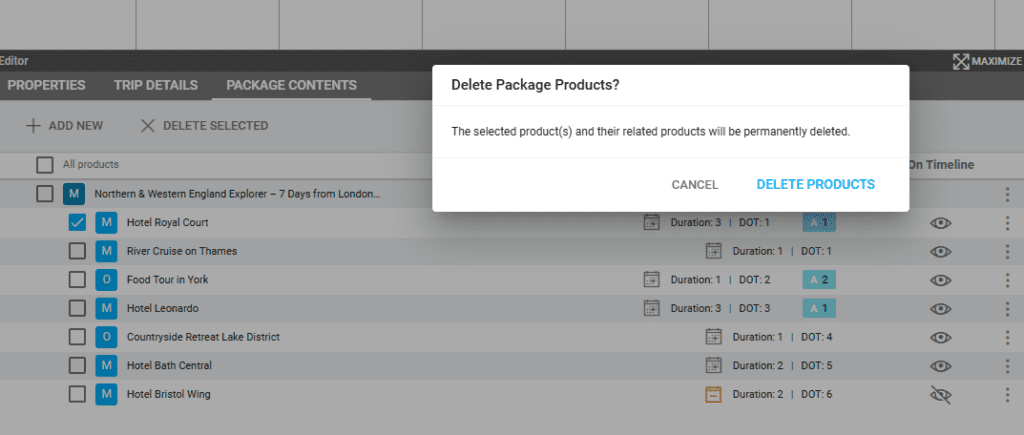
To delete a product, in Editor/PACKAGE CONTENTS tab, checkmark the product and tap on the DELETE button.
Changing The Product Info
1. The product details (attribute, included in total, print, duration, day of tour) can be edited from Editor/PACKAGE CONTENTS. Select the product click edit or double click it for the details to be opened.
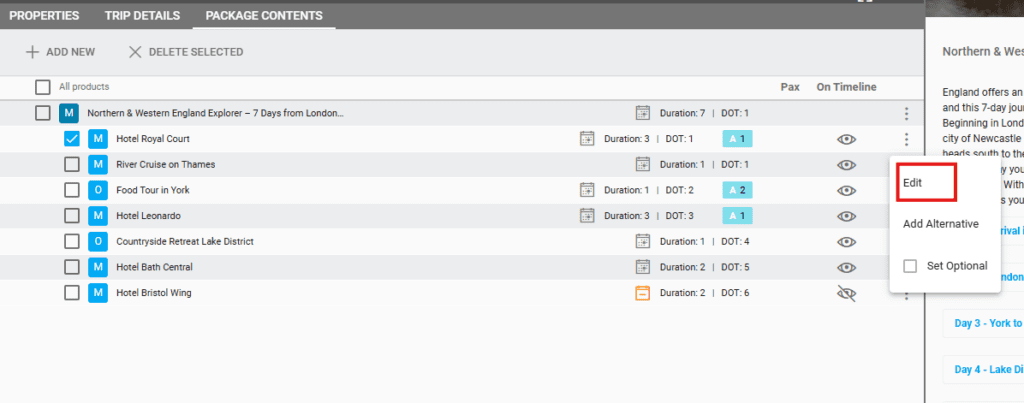
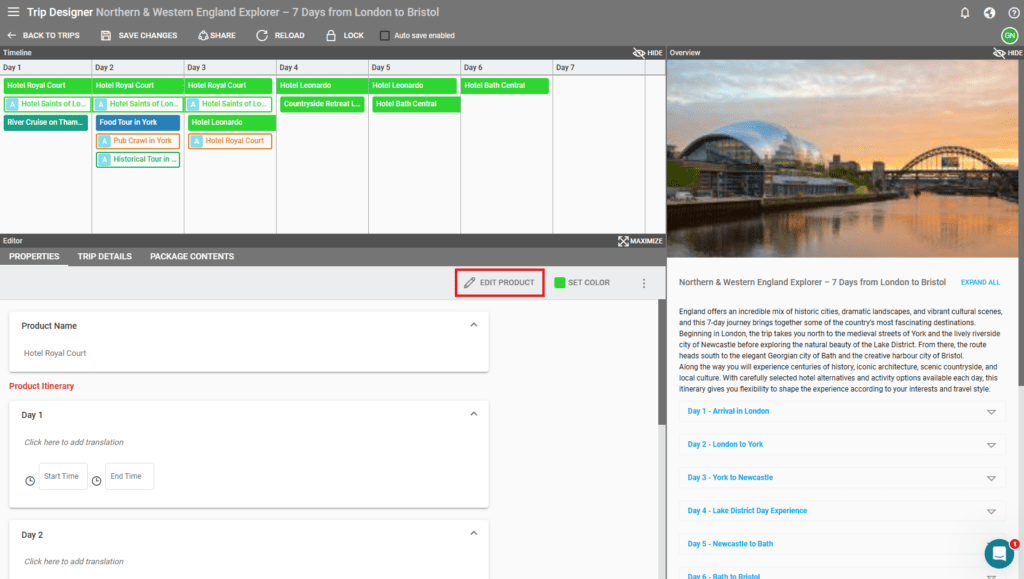
You may change information like the attribute – Mandatory or Optional, Product category, country area, etc. if click on the product name in the timeline, then click EDIT PRODUCT:
2. Product Itinerary (product day descriptions) can be edited from the Editor/PROPERTIES section by selecting the product from Timeline and then clicking on PROPERTIES.
Sharing A Trip
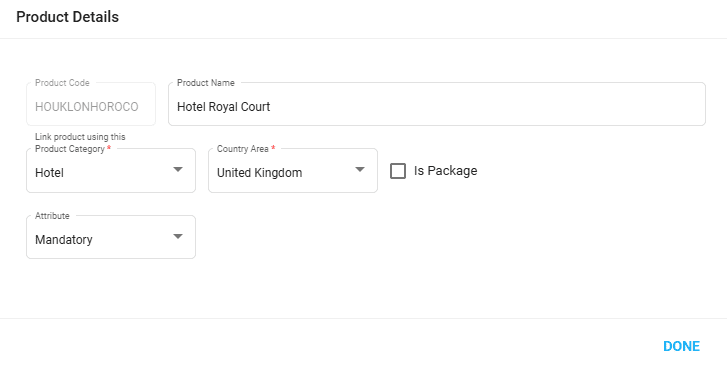
There are two ways you can share a trip using the share button from the top main menu: download a pdf or send a shareable link.
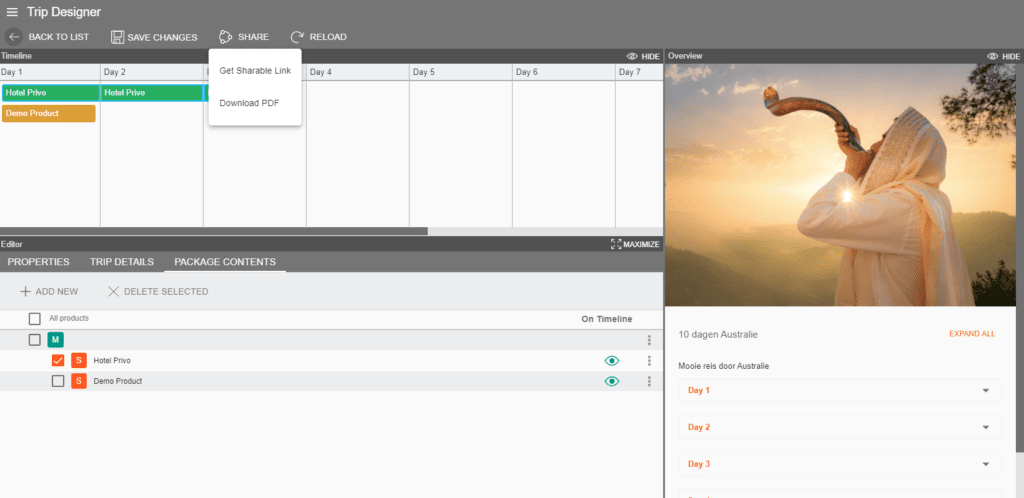
Sharing a Trip through a Shareable Link
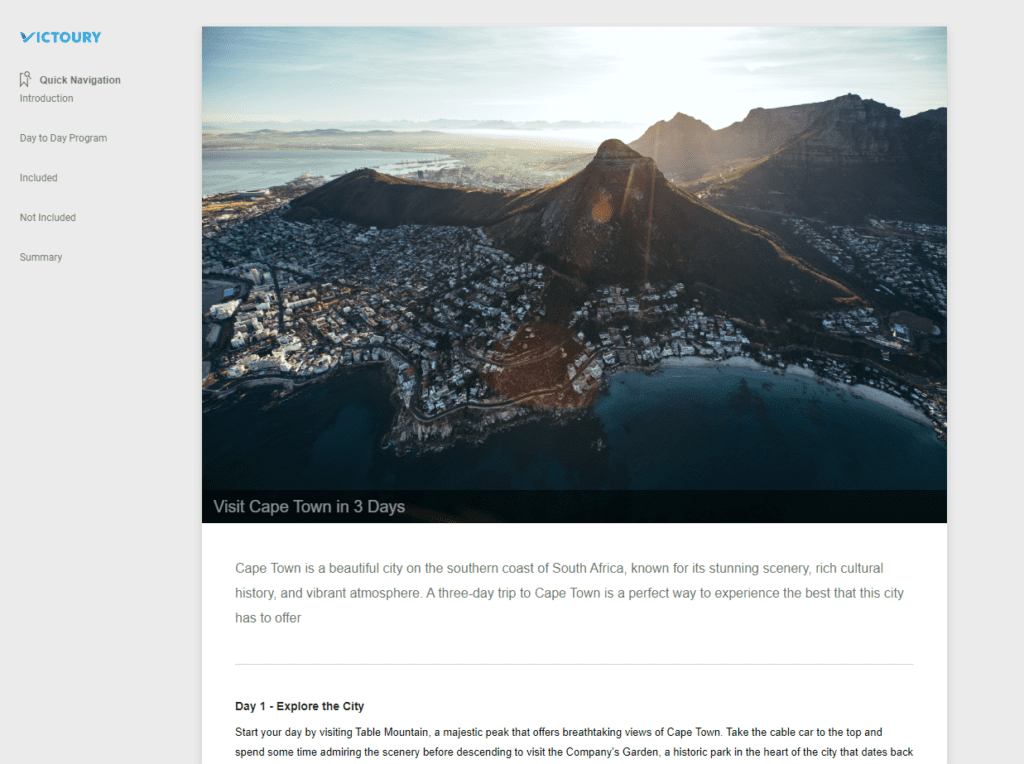
Victoury allows users to share trips created in the Trip Designer through a live website that’s automatically updated along with the trip details. To get this link, click on “Share” in the top menu of the Trip Designer and select “Get Shareable Link”. Paste the link in another tab and you will be able to see the trip plan with the standard Victoury design.
The design can be customized on demand for each brand you have, allowing you to have different designs depending on your brand. To customize your design, please contact your Victoury representative so they can guide you through this process and work together with our development team.
OBSERVATION
All supplement products added in the trip designer are building a package structure product.
Sharing a Trip through a PDF
Upon booking a trip product in a deal, a day-by-day travel itinerary document is available for download, viewing and sending. The design can be customized. Please contact us if you’d like to make changes to your document templates.
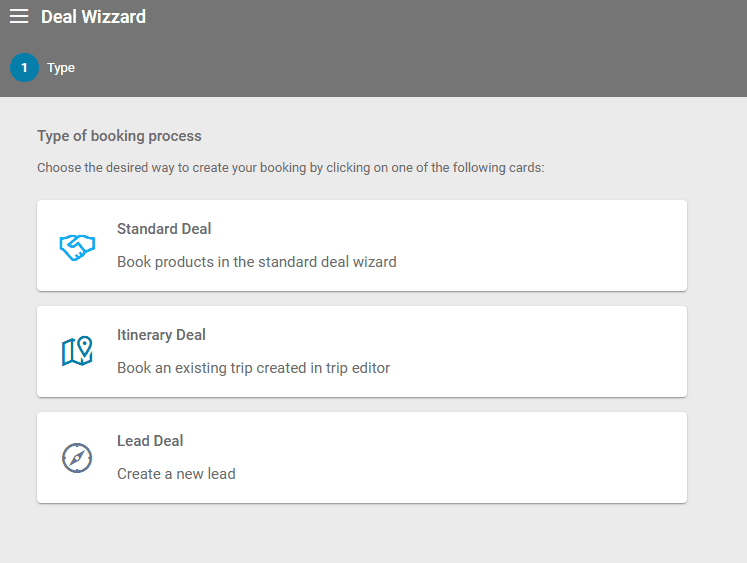
Adding A Trip Related To A Deal
When creating an Itinerary Deal, a trip will be attached to the Deal. This would be the trip related to the deal – Itinerary Deal.
Such a trip may be created by booking a trip already designed in Trip designer, and all related details (images, description, etc.) will be imported into a new trip that is related only to the deal. This kind of trip is not accessible from the Trips list, only from the Deals list. Deals having trips booked have the trip specific icon.

When you are creating a booking and you select the Itinerary Deal option, it is not mandatory to book a product that has already a trip in trip designer because the trip will be created and built based on the arrangements booked.

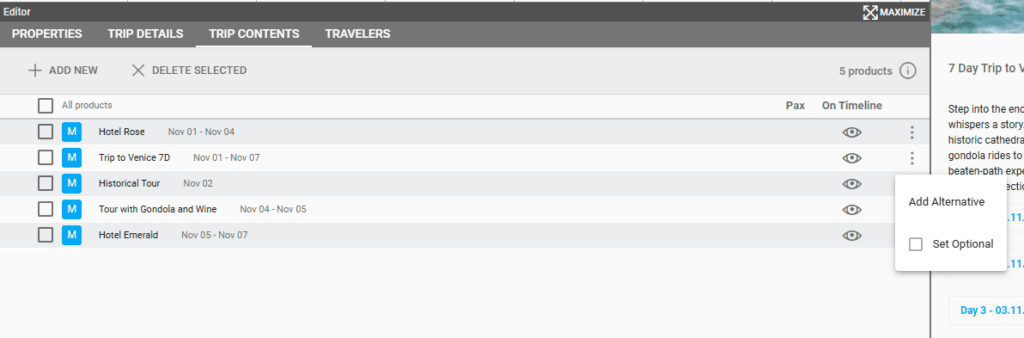
The Editor section of this type of trip is a bit different.
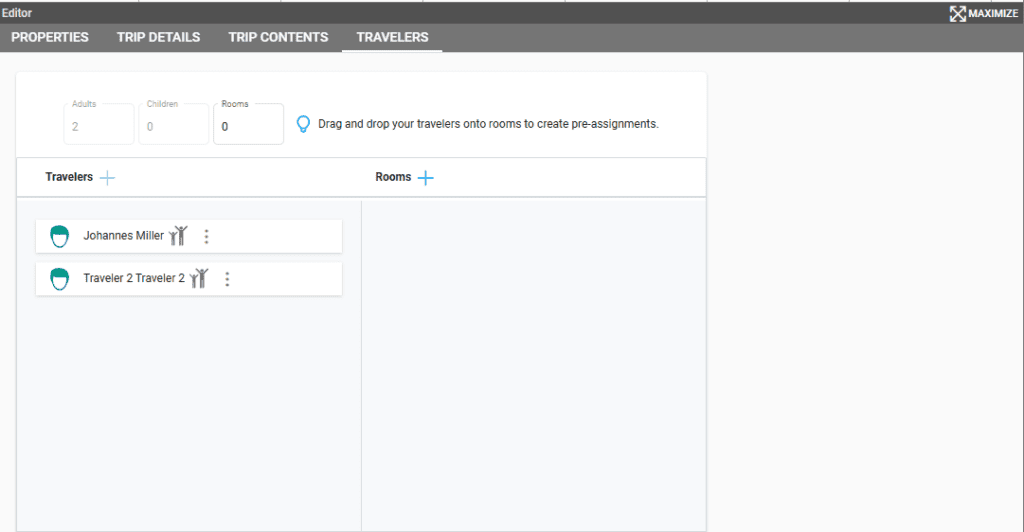
Instead of PACKAGE CONTENTS, we have TRIP CONTENTS and we have an extra tab – TRAVELERS.

In the TRAVELERS tab we have the possibility to assign travelers to rooms.
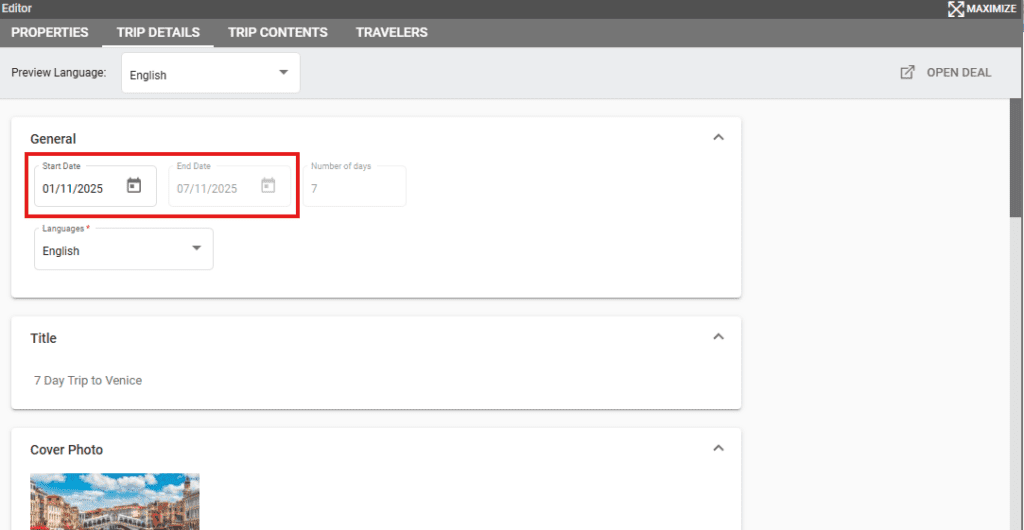
In TRIP DETAILS we can edit the Start Date in case any changes to the trip occur. In this case, all arrangement dates will be updated accordingly.
In TRIP CONTENTS Edit option has been removed but we can Add alternative products if needed, or set certain supplements as Optional.
The rest of the Trip Designer when related to a deal works the same as described above in this article.