How to Assign A Travel Designer to A Product
Creating a Travel Designer
First, you will create the Travel Designer as a product in the Product List.
The Product Code will always start with TD, which stands for Travel Designer in the Product_Category set within the Choice List. The subsequent characters of the product code should relate to the name of the Travel Designer. For example, Laura Rose’s code could be: TDROSELA or TDLAURRO. However, the specific designation after TD is at your discretion.
The Category of the product will always be Travel Designer – TD.
For the Product Type, select Itinerary.
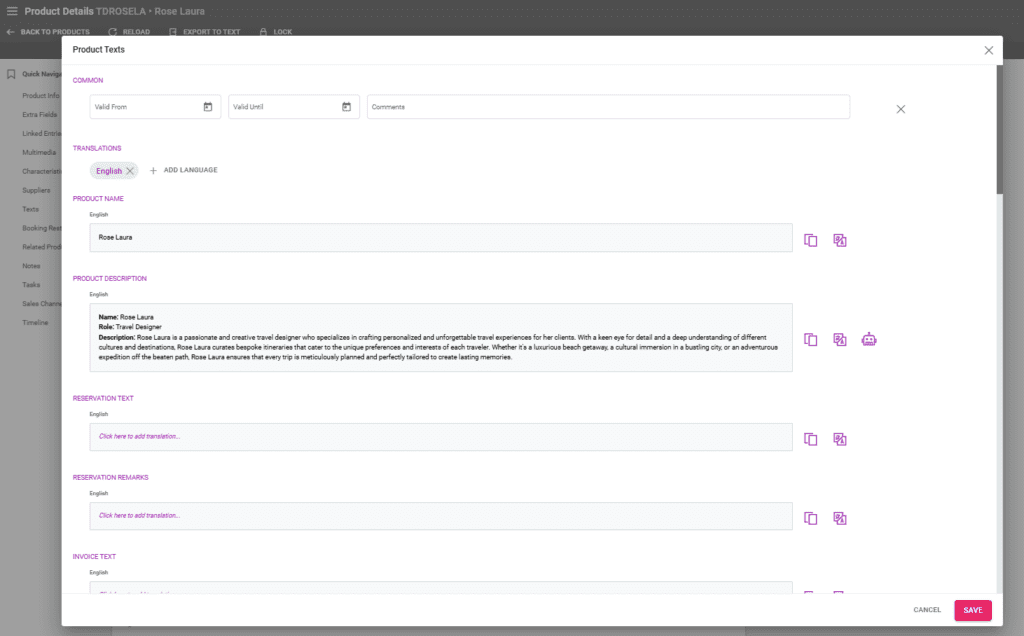
For this product category, a set of Extra Fields are available to be populated with personal information: Personal Name, Family Name, Email, Telephone. Upon your request, we can add additional fields. These details will appear on documents, PDF templates generated from Victoury, or on the website.
A description of the Travel Designer will be entered in Texts – PRODUCT DESCRIPTION.


Adding a Travel Designer to a Trip
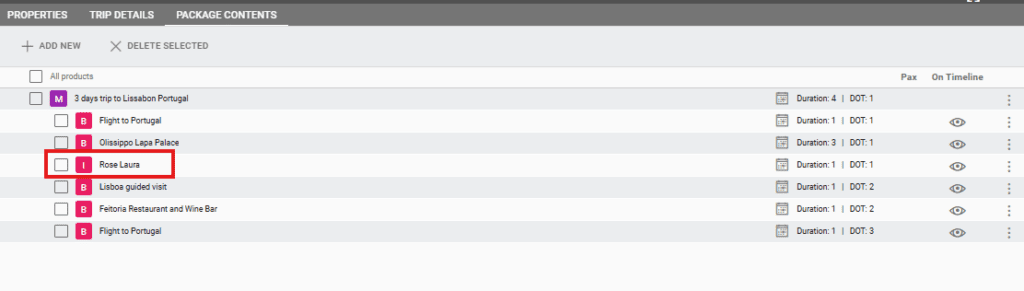
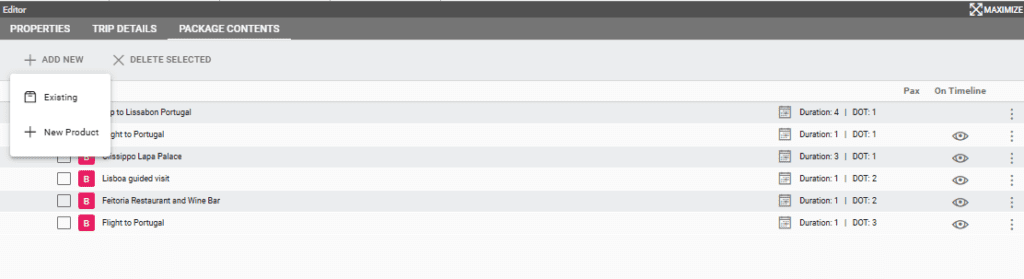
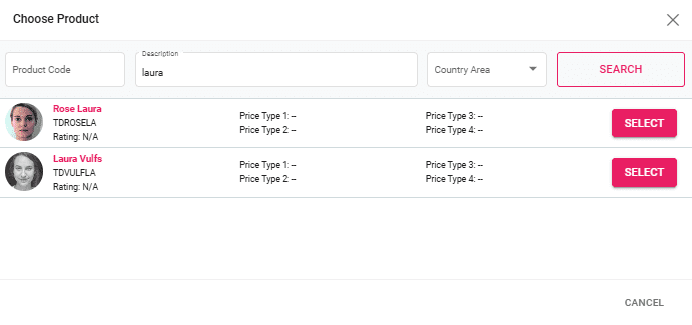
In Trip Designer, add the Travel Designer on the first day of the trip under Editor/PACKAGE CONTENTS. Click ADD NEW and choose Existing. Search for the Travel Designer using the available search filters, then click SELECT:
The Travel Designer is now added to the trip. The “I” refers to the product type, in this case “Itinerary”.