Products – Adding A Product
Creating Products
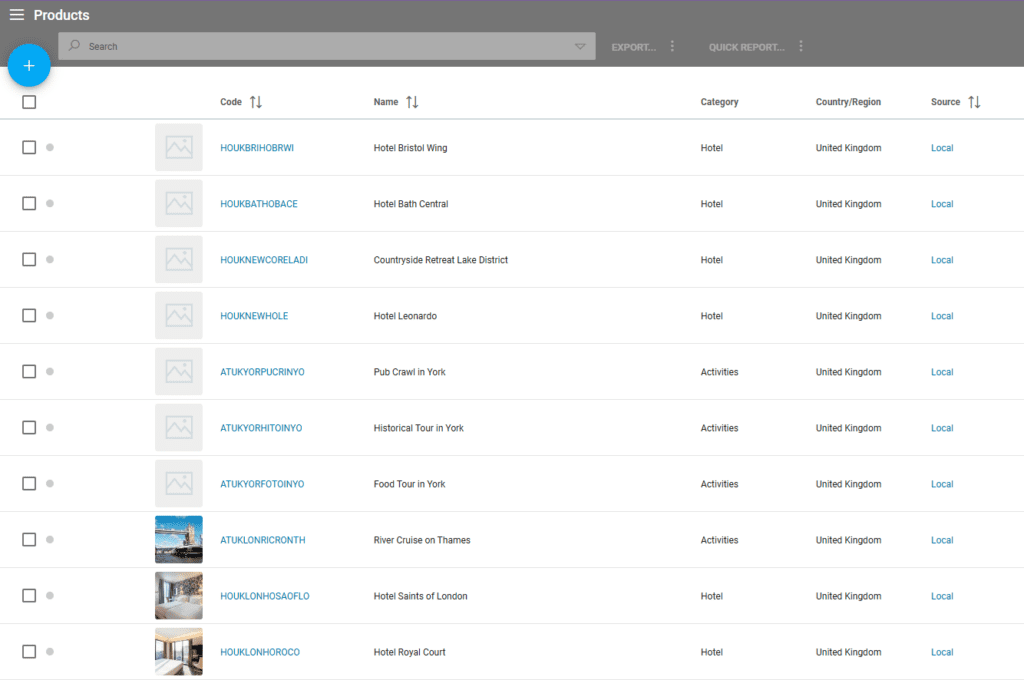
To add a product, navigate to the left menu. Select “Product” and then “Product List” from the dropdown menu.
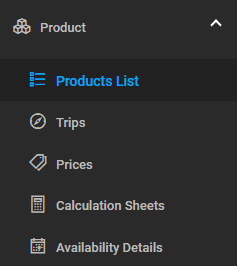
Click the ‘+’ symbol to add a new product, where you define the basic parameters (product code, product name, category, etc.).
Adding A New Product
Please note that a product cannot be deleted if it has been used for arrangements. You can only delete:
- Products with availabilities or allotments created that haven’t been used as arrangements yet
- Products set as suballotments that haven’t been used as arrangements yet
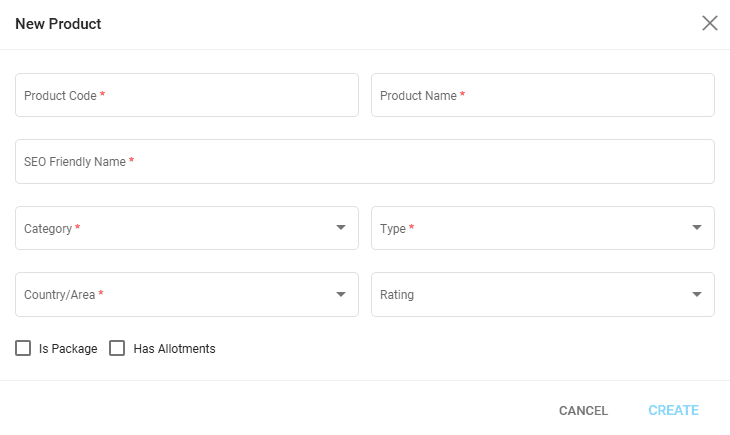
Product Code
The code serves as the identifier for your product, e.g., HOHILTON for Hotel Hilton.
Here’s an example of creating a product code:
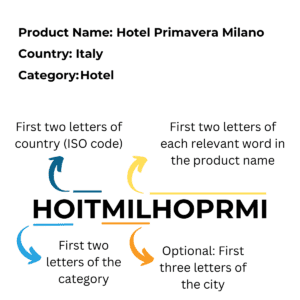
First 2 letters of category + first 2 letters of Country (ISO code) + (optional) first 3 letters of city + First 2 characters of each relevant word in the product name. For example, HESPERIA BARRI GÓTIC, 3* – The product code will be HOESBCNHEBAGO (HO = Product category, ES = ISO code for Spain; BCN = ISO code for Barcelona airport, HEBAGO = 2 first characters of each word in HESPERIA BARRI GÓTIC).
You cannot change the product code after creating the product, so make sure to follow your code conventions or Victoury’s conventions.
Edit a Product Code
Editing a product code is available only to users with an “Administrator” role in Victoury.
Product Details when Creating a Product
Product Name – The name of your product, e.g., Hotel Hilton.
SEO Friendly Name
Automatically generated based on the Product name and used on websites.
Product Category – The dropdown list contains all categories available by default in the system. To work with different product categories, add or edit these in Settings – Choice lists tab, selecting the Product_Category section, then click Insert Option and define the new entry (Option Code, color, icon, and translation to other system languages).
Product Type – Defines the type of product for booking. It can be Arrangement, Itinerary, or Both:
- Arrangement – Select this for products that have prices and, when booked, create an arrangement in a deal. In trip designer, products of this type are not shown in the Timeline of the trip.
- Itinerary – For products used as descriptions or information-only products that have no price. These can be part of a package and used solely to describe something. This information might be displayed on different templates (offers, travel plans, etc.), in the case of Itinerary Deals.
- Both – For products used both as description-only products and products that have prices and create arrangements in a deal.
Depends on the selected product type, the assignment of attributes in the package manager can vary:
For products where type = arrangement or type = both, only the following attributes can be assigned: mandatory, optional, mandatory-optional, alternative, buy.
For products where type = itinerary, only the info attribute can be set.
In the next version: In the timeline view in the Trip Designer, products where type = arrangement will not be displayed. For example, supplements in the trip package like a flight supplement product do not need to appear in the trip timeline in the trip designer but need an arrangement created when the package is booked.
Attribute Types
Available only in the package manager (trips – Package Contents and in Package Manager of products that are packages):
- Mandatory – product will be loaded as an arrangement.
- Optional – product will be loaded as an arrangement only if selected by the customer during the booking process or when editing an existing reservation.
- Mandatory-optional – product will be loaded as an arrangement even if it is not selected by the customer during the booking process or when editing an existing reservation.
- Buy – for this product, an arrangement will not be created. It is used only to calculate the sell price of the package in the calculation sheet and to be loaded in supplier orders if the package is booked.
Country/Area – The dropdown contains all countries and areas available by default in the system. To add other countries or areas, add or edit these in Settings – Choice lists tab (Country_Area).
Rating – The dropdown contains all ratings available by default in the system. If you work with different product ratings, you may add or edit these in Settings – Choice lists tab (Product_Rating).
Is Package – If checked, the product you are adding will be available in the Package Manager section, where you can build your package-type products.
Has Allotments
You can check this option when adding a new product, but it can also be selected and edited on the product details page, under the Allotments tab.
Once you have defined the basic parameters for your product, click on the CREATE button, and your product will be visible in the product list.
Accessing Product Details and Editing the Product
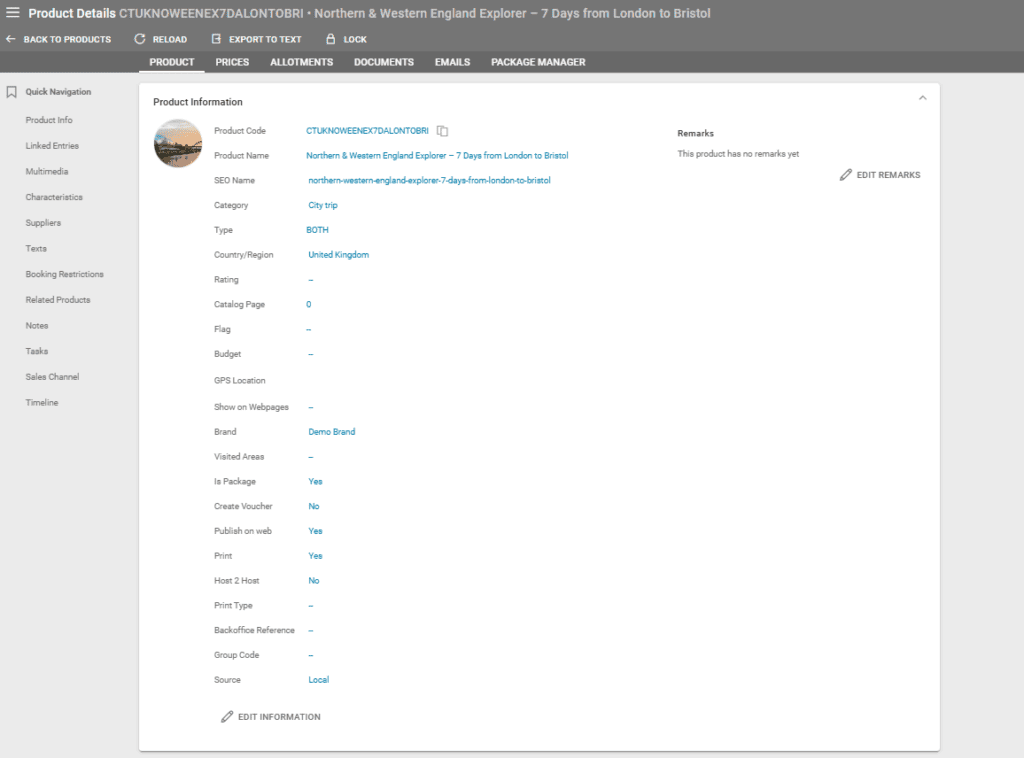
Clicking on a product code in the Product listing opens the Product’s Details. In this section, you can review or edit all the details that you have introduced at the moment you created the product (Product Name, Category, Type, etc.), except the product code. Also, you can add additional info, such as GPS location, the type of budget your product refers to, and choose on which webpages you want to show your product, the brand, etc.
To edit the product information section, click on “Edit Information”. At this point, you can add multiple details, like GPS location, or choose the webpage where you want your product to be displayed, etc. Once you’re done editing, click on the ‘Save” button, and all changes are saved.
Is Package checkmark – If your product is a package.
Create Voucher checkmark – If you need this product to have a printed voucher for a Deal.
Publish on Web checkmark if you want your product to be shown on your website or minisite.
Print checkmark – if the product should be printed on documents.
Extra Fields
Extra Fields – Use these fields for adding extra information not defined by default in the product details.
Extra fields can be defined in the main left menu Settings / General / Custom Fields. See more about adding custom fields in the article here.

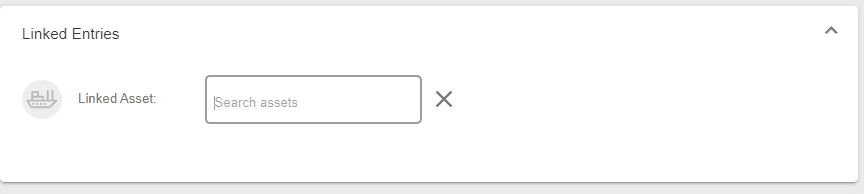
Linked Entries – Linked Asset
Assets are defined in the main left menu – Assets.
An asset may be a boat, a train, etc.
To link an Asset to your products, click on the search field, search by the name of the asset, select it from the results, and click SAVE.
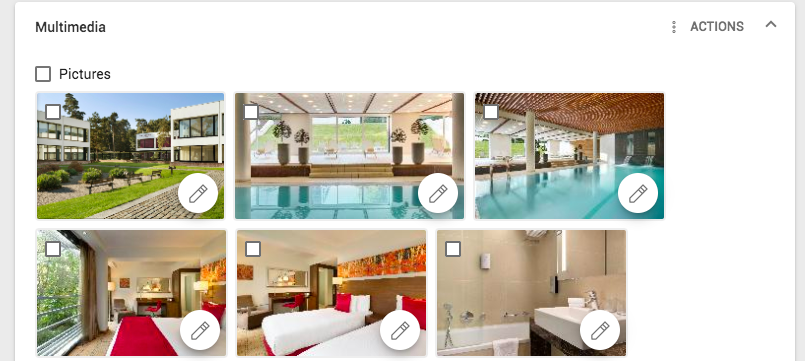
Multimedia – Product Pictures and Videos
To add pictures to your product, click on the +ADD NEW button.
Click on Choose existing or Upload new and browse for your image file to upload.
For Upload new, you can also use an absolute URL image.
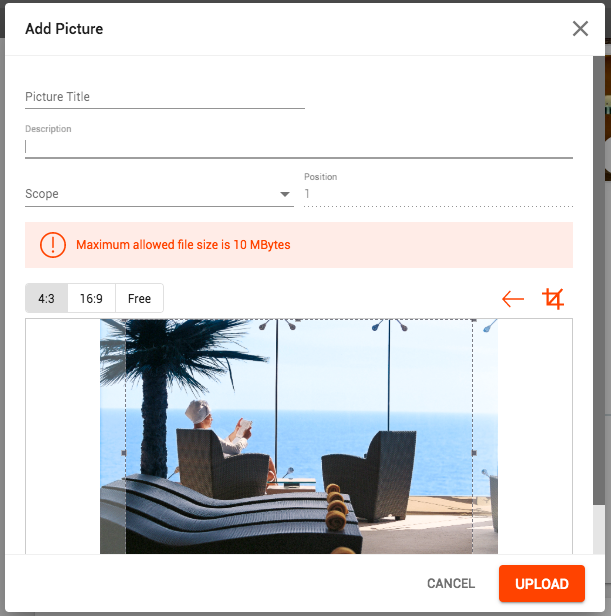
For each product image, you can add a Title, Description, and Scope if you like, but this is not mandatory. The Scope can be: Main, Map, or Regular. The scope will influence the position of the images on prints and websites.
Uploaded images cannot exceed 10MB in size.
You may use the 4:3 or 16:9 aspect ratio aid to crop your images, or if you want to upload them without cropping, do not use the

symbol, just click on the UPLOAD button.
If you need to change the position of your pictures, you can drag and drop them as desired.
If you change your mind and decide you need to delete any of the added images, select the desired image and use the Actions/Delete function.

For videos, you need to add an embed script copied from a video streaming platform, such as YouTube or Vimeo. If you have a video file, first, you have to upload it to such a video streaming platform.
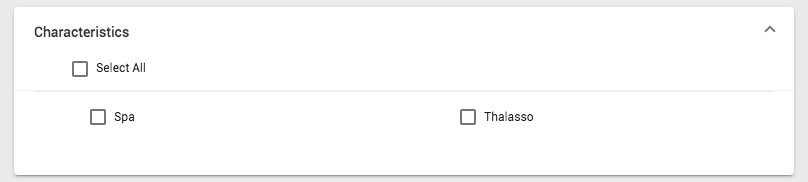
Product Characteristics
To add details related to accommodation type, meals, occupancy, etc., click on each type of characteristic and choose the ones you need from the collapsible list. If you need different characteristics, you can edit or add them in the Settings section – Choice lists – Product_Characteristics choicelist.
So that the characteristics added in the Product_Characteristics choicelist are displayed in the Product Details/Characteristics section, these need to be added following the below rules:
- Generic characteristics for all product categories for all brands – these need to be added as a sub-level under Generic (code of the option should be PCGEN) in the Settings section – Choice lists – Product_Characteristics choicelist.
- Generic characteristics for all product categories for one certain brand – these need to be added under a new option in the Settings section – Choice lists – Product_Characteristics choicelist, and the code of the new option should start with the Brand code and end in GEN. Ex. if you have DB1 set as Brand, the code of the generic characteristics list for this brand should be DB1GEN.
- Product category-related characteristics – these need to have as the code of the option – the same as the code of the option in Product_Category choicelist.
Ex. if you have HO set as a Product_Category, the code of the category-related characteristics option list should be HO.
Product Suppliers
To add a supplier to your product, go to the Supplier area in Product Details and click on + ADD NEW. A new tab opens, and you can search for a supplier in the search field, then select it. After selecting the supplier, you must enter a Supplier Address Code and a Supplier Product Code. You can edit these details later if needed, using the EDIT button from Actions or just by clicking on the supplier’s name.
Be aware that the supplier set at this level will not be considered when the product is booked, and the supplier invoice is created.
To have the supplier set for invoicing purposes, you must select a supplier for each price of the product using General Information/Price Supplier.
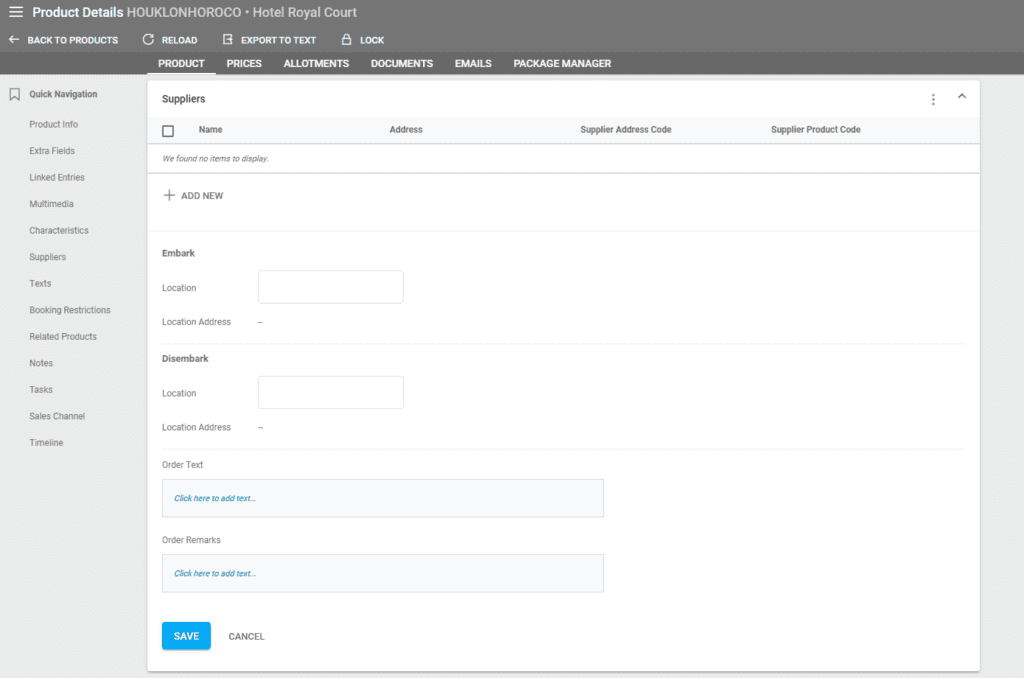
Using “Edit Information”, you can set up:
Embark Location – Search field for Address name from the Address section.
Disembark Location – Search field for Address name from the Address section.
Order Text – This is the order text used for the order toward the supplier when booking the product.
Order Remarks – This is the order remarks text used for the order toward the supplier when booking the product.
Product Texts
To add text to your product, use the “+ Add New” button.
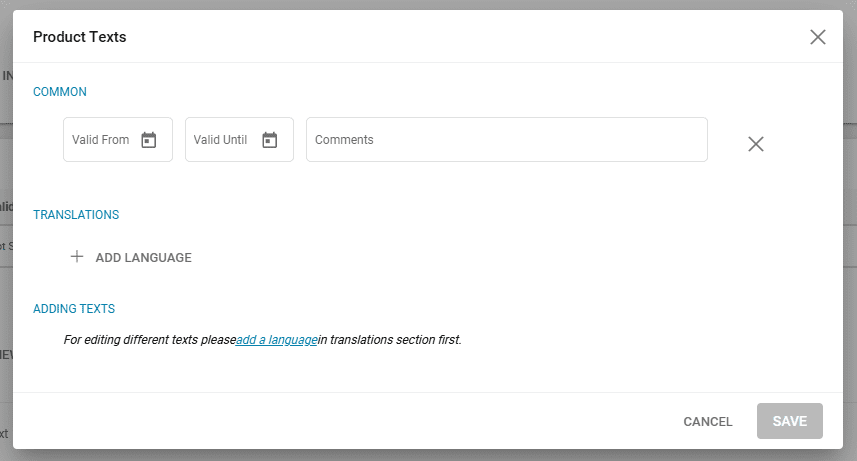
A new tab opens where you can introduce the validity of the text and comments if needed.
If you do not add any begin or end date, the text will be valid for an unlimited time.
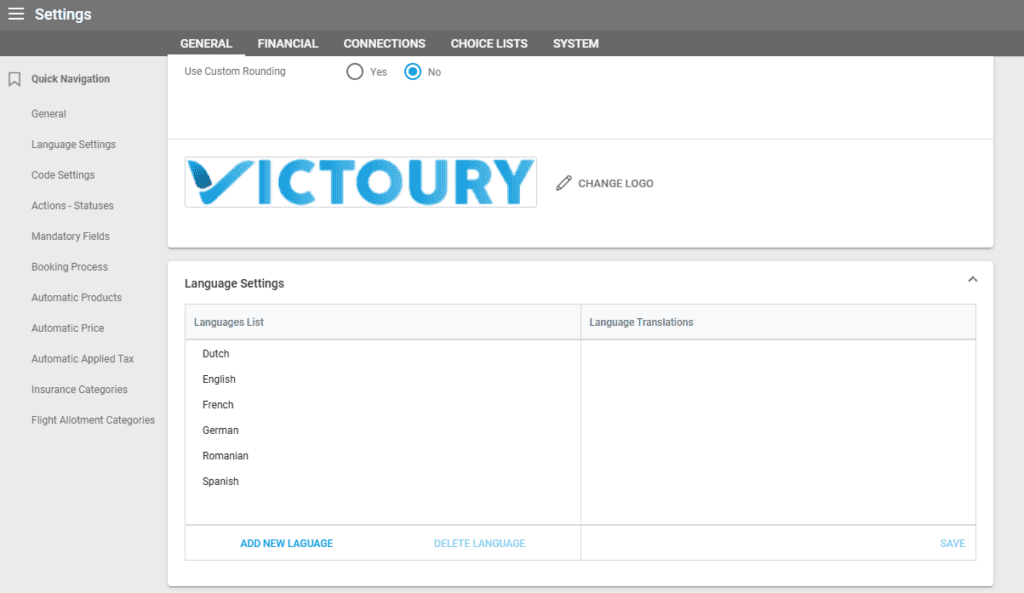
The next step is to add at least one language using “+ Add Language”. Once you have done that, a list of fields are opened. To add, edit, or remove a language, go to Settings / General / Language Settings.
PRODUCT NAME – Insert the name of the product.
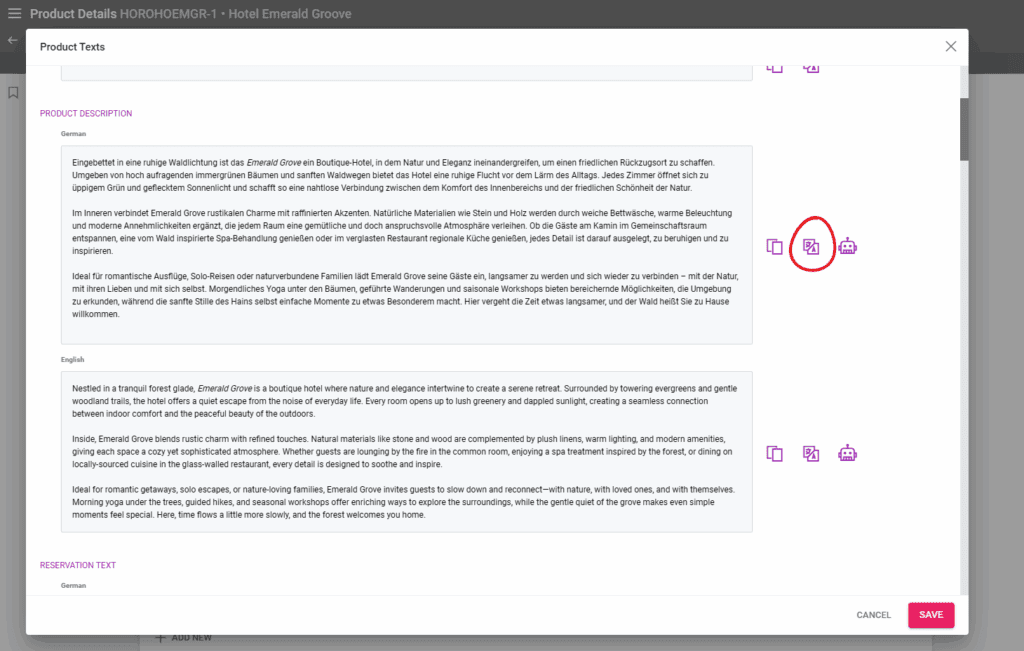
PRODUCT DESCRIPTION – Add a short and appealing description for your product.
RESERVATION TEXT – Describe your reservation.
RESERVATION REMARKS – Write any remarks about your product here.
INVOICE TEXT – If you fill this out, this text appears on your invoice instead of the product name.
INVOICE REMARKS – This text appears on the invoice on the arrangement line.
TRAVEL PLAN TEXT – Write a short description for the travel plan. This text is printed on the PDF Deal document.
INCLUDED – Insert important details about what is included in the price of the product.
NOT INCLUDED – Point out what is not included in your product price and may be charged separately.
WEB TEXT1 – Intro text – a short description to introduce your product. This text will be displayed on a minisite or webpages.
WEB TEXT 2 – Outro text – a descriptive text for closure. This text will be displayed on a minisite or webpages.
If you need more Product Translated Texts fields, you may add them from the main left menu Settings / System / Custom Fields.
Voucher Text, Voucher Remarks, Travel Remarks are fields that display information on Voucher prints.
If you are working with more than one language, you have the possibility to copy the text from a field for all translations using the Copy icon.
Two buttons are available for AI powered translation and product description generation.
Tasks
A task for another Victoury user can be created. Tasks have multiple fields for additional details such as:
- Create Date
- Type of task
- Due Date
- The Users involved if any
- Subject
- Details
More information about tasks can be found here.
Timeline
A history of actions can be registered in the Timeline. These actions are recorded automatically.
Display A Product On Websites
To display a product on your website, select and open your product from the left menu Product / Product list and in the Product information section check-mark Publish on Web, then click DONE.
Please note that prices will also have to be set to “Publish on web” in order for them to be displayed on a website. For more information about website connections, please contact our support team or your Victoury representative.
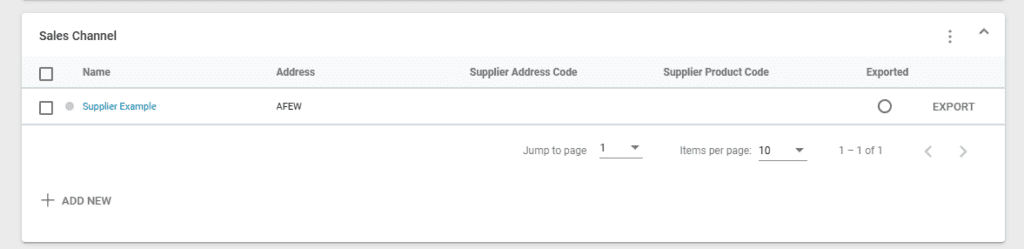
Sales Channel
Victoury offers you the possibility to own a Sales channel, which is another Victoury tenant linked to your environment.
This feature offers the possibility to export products from your environment to another. For more information and setup, please contact our team.