Emails – Link Entities and Assign Users to Emails
Automatic Linking Upon Importing Emails
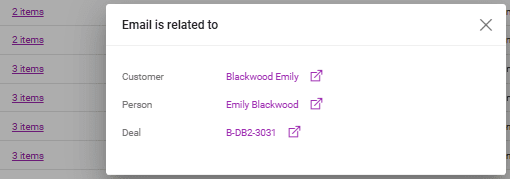
In the Emails list, the Related To column shows who the email is related to. When importing emails, matching is automatically done for Persons, Customers, and Suppliers (article available here). To view the relations, click on the number of items in the emails list.
Automatic Matching Logic
Customer
- Search for non-temporary persons by the email address “from.”
- If a person is found, link the email with the Person.
- If the person is the main contact of a customer, link the email with the Customer.
- If no customer contact is found, the system searches for a Contact of type “EMAIL” with the value equal to the email of “from” (from Customer details/Contacts with Type=email).

- If a contact type email is found, link the email with the customer.
Supplier
- The same matching logic as for the customer is applied.
Reservation
- All group numbers in the email Subject, e.g., “test mail subject 756 and 324”, are identified.
- For each group of numbers, the system searches for reservations by booking code; booking code = “B-756”, “O-756”, or “L-756”, and so on, across all existing brands.
- If only one record is found, link the email with the reservation.
- If more records are found, no link is made to reservations (users can link manually from the emails list as explained below).
Manually Linking Entities to Emails
Emails can be manually matched from the Emails list.
Check one or more emails to be matched in the list of emails and use the edit sign for matching. For Type, select the entity to which the email will be matched (Customer, Supplier, Reservation, Sp. Quote/Order, Customer Invoice, Product, or Person):

Once the entity is selected, a new dialog opens with a Search option:
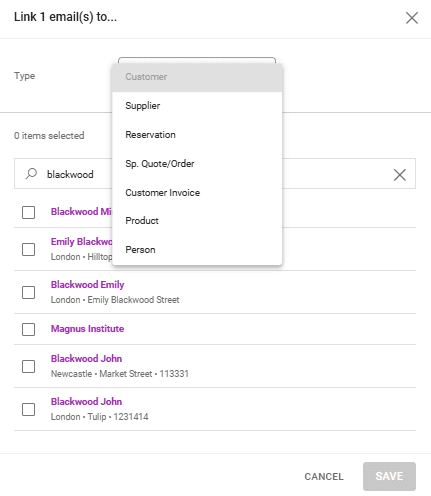
Select from the results the entities and click save.
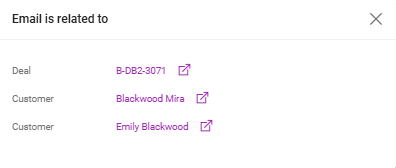
In the Related To column, when clicking on the number of items, all previous selections of entities are displayed along with the already existing relations:
Assigning Emails to Users
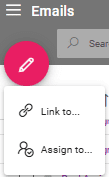
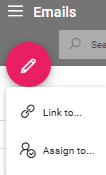
In the Emails Listing, emails can be assigned to Victoury users. Select one or multiple Emails, click on the pencil icon, and select “Assign to”.
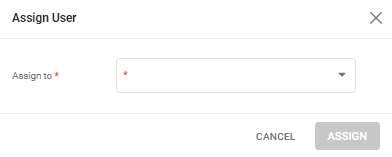
A drop down list will appear with all the active system users.
This will update the “Assigned To” field in the email.
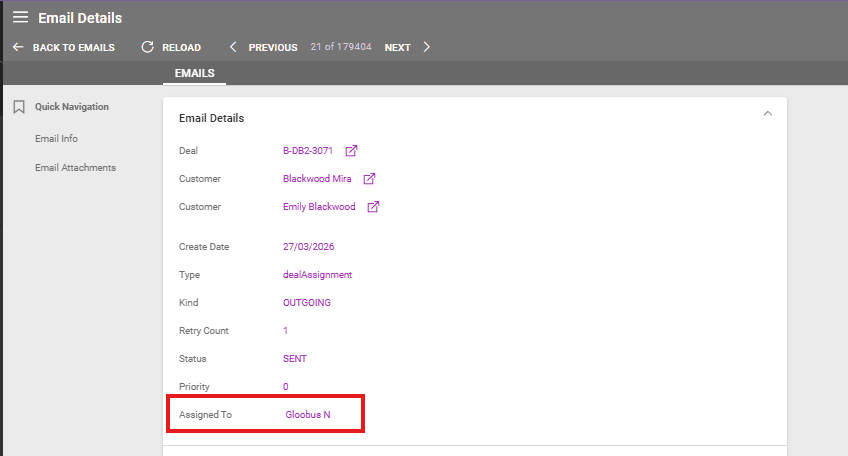
The Assigned user can also be changed by clicking on the purple name in the Assigned To field. A dropdown list will be displayed. Once a different option is selected, the email details are refreshed with the new assigned user.
