Suppliers – How To Create A Supplier
Creating a New Supplier
To create a new supplier, navigate to the main menu on the left and select Suppliers.
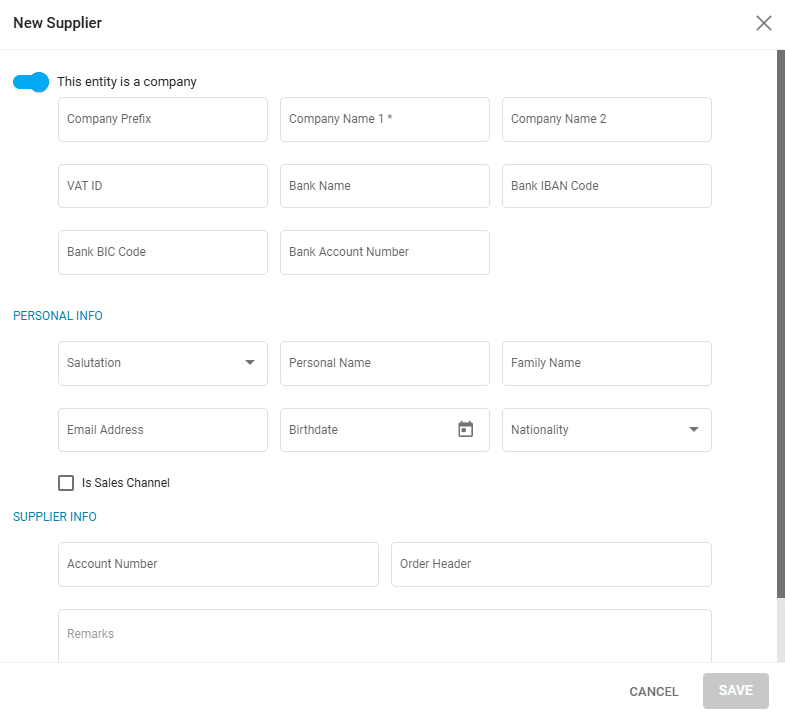
Click the + symbol. A new tab will open, allowing you to enter details about the supplier. If the supplier is a company, select the corresponding radio button and fill out the fields in this section.
Company Information
- Company Prefix
- Company Name 1 and 2
- VAT ID
- Bank Name
- |Bank IBAN Code
- Bank BIC Code
- Bank Account Number
Personal Information
- Salutation
- Personal Name
- Family Name
- Email Address
- Birthdate
- Nationality
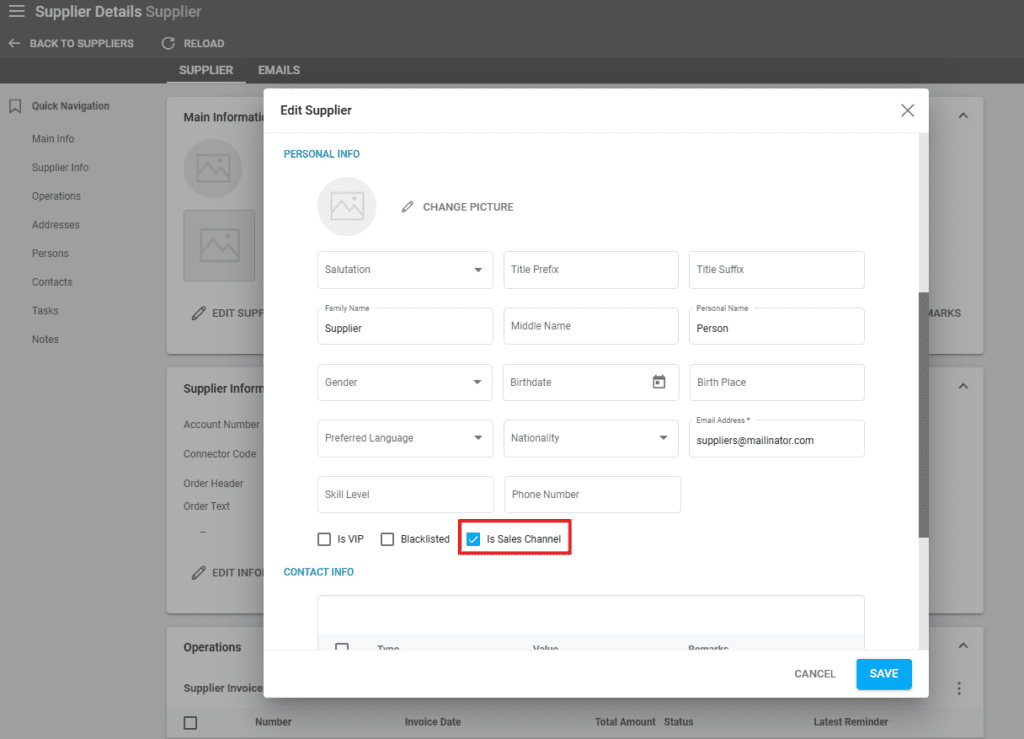
- Is Sales Channel: More information about Sales channels here.
Supplier Information
- Account Number
- Order Header
- Remarks
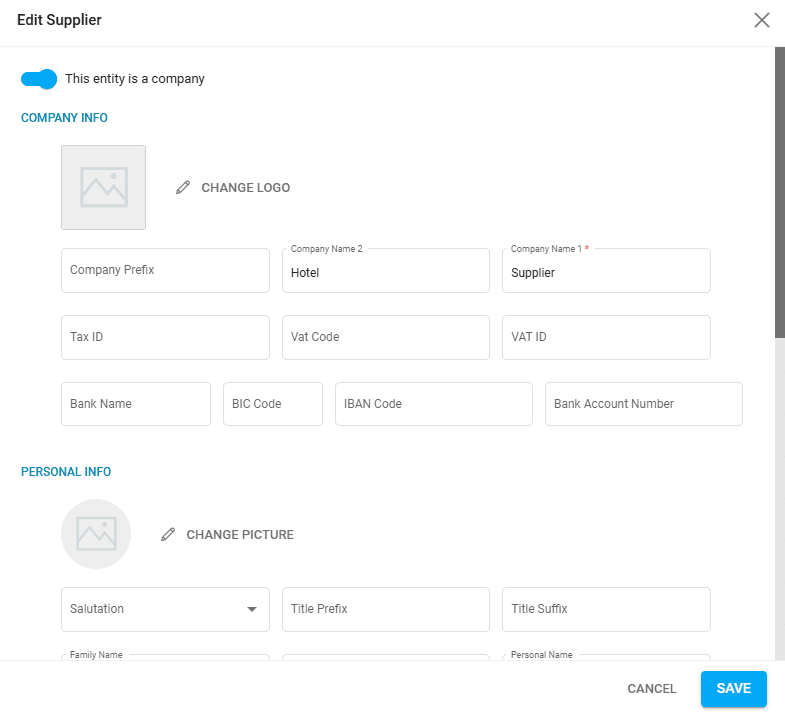
Viewing and Editing a Supplier
After clicking SAVE, the newly created supplier will appear in the supplier list. You can then add further details as follows:
- Main Information: Include the company logo, company details, a person’s picture and details, contact information (the use of the information may vary depending on the Type set; for example, if the Type is ‘Order Email’, the email address is used when sending a supplier order to the “To” field), and supplier type.
- Supplier Information: Assign an account number, connector code and define order header/text.
- Operations Section: Displays all invoices created for the supplier. Supplier invoices can only be added from the Deal list or within a Deal’s Details – see the article on creating supplier invoices.
- Supplier Payments Details: Instructions on how to register a supplier payment can be found here.
- Addresses: All supplier addresses are also visible in the Addresses list and can be used to set the Embark/Disembark location in Product details or per Price of a product if Type=Location or if no Type is set at all.
- Persons: A supplier may have multiple people linked to it.
- Tasks
- Notes
Sales Channel Supplier
If the supplier is set as “Is Sales Channel”, Victoury offers you the capability to export products from your environment to another, through product details. Please check the dedicated article here.
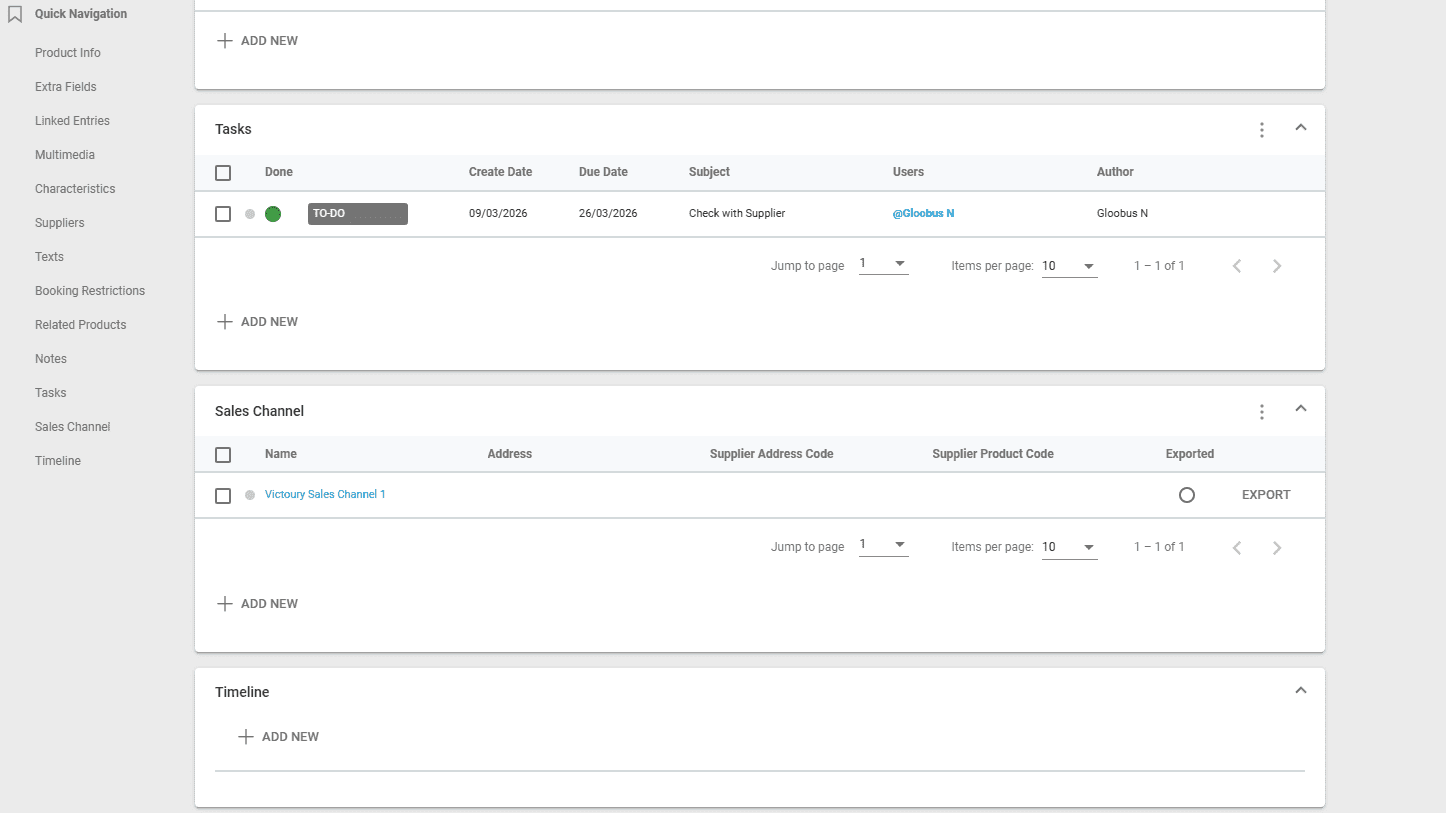
This means that you have the opportunity to manage a Sales channel, which is essentially another Victoury tenant connected to your environment.