Emails – Email Sending From Victoury
Emails can be sent in multiple places across Victoury to one or more recipients. Emails can be saved before sending for later checks and edits.
1. Deals – Documents – Email Sending
For this feature, you will need to provide us with your SMTP details to set up your account accordingly.
Once the settings are configured on our end, you are ready to designate your templates for sending documents from Deals directly.
- First, establish your templates in the Texts Library from the main left menu:
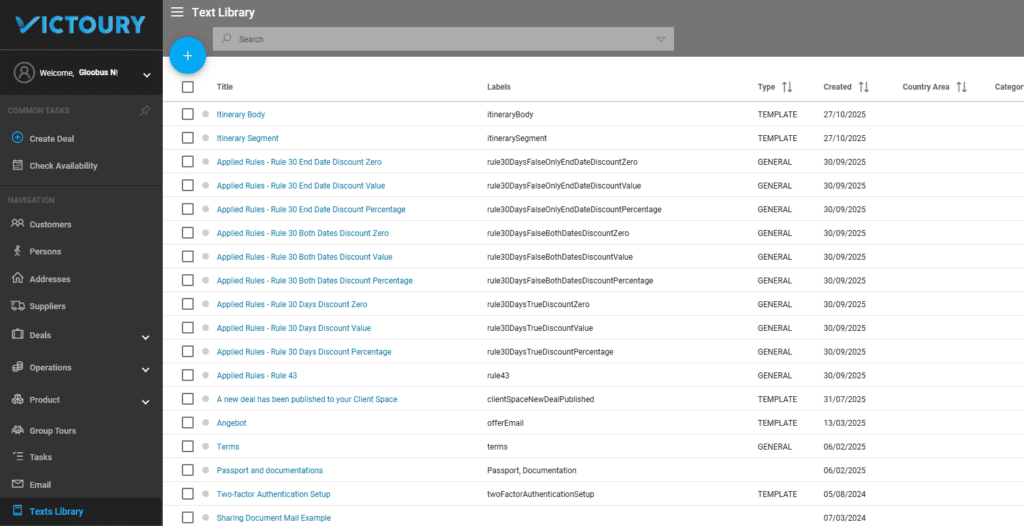
- Create a new template, taking into account the mandatory criteria below:
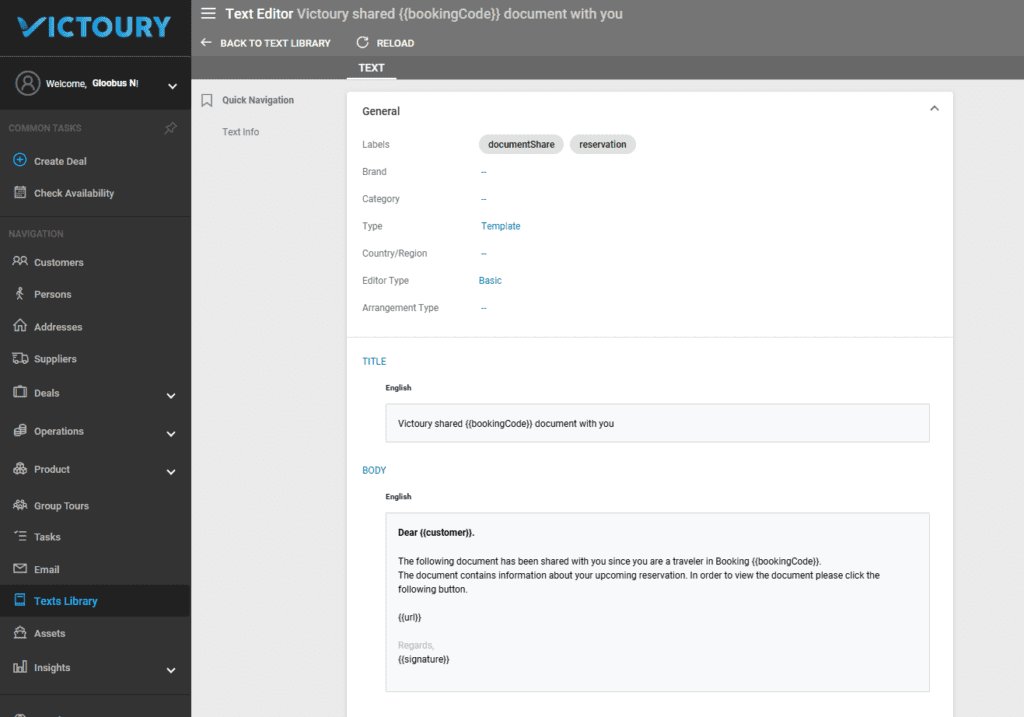
General Settings:
– For labels, select documentShare and reservation
– Select the Brand
– For Type, select Template
Category, Arrangement Type and Country/Region are optional settings.
Title – Add a new language and set a title that will represent the subject of the email:
“Victoury shared {{bookingCode}} document with you” – where you have a placeholder for the deal code. The rest of the text is, of course, up to your discretion.
Body text is also up to your discretion. Only the placeholders are important and must be set correctly, as in the example below:
“Salute {{customer}}.
The following document has been shared with you as you are a traveler in Deal {{bookingCode}}.
The document contains information about your upcoming reservation. To view the document, please click the following button.
{{url}}
Regards,
Demo Brand 1
{{signature}}”
For more information about placeholders defined in Victoury and setting up email templates in the Text Library, please refer to our guides.
Your work in the Texts Library is now complete.
Next, navigate to Deal/Documents and click GENERATE on the desired documents: Deal Confirmation, Devis, or Travel Plan reservation. (Remember, in the Texts Library you may create a distinct template for each).
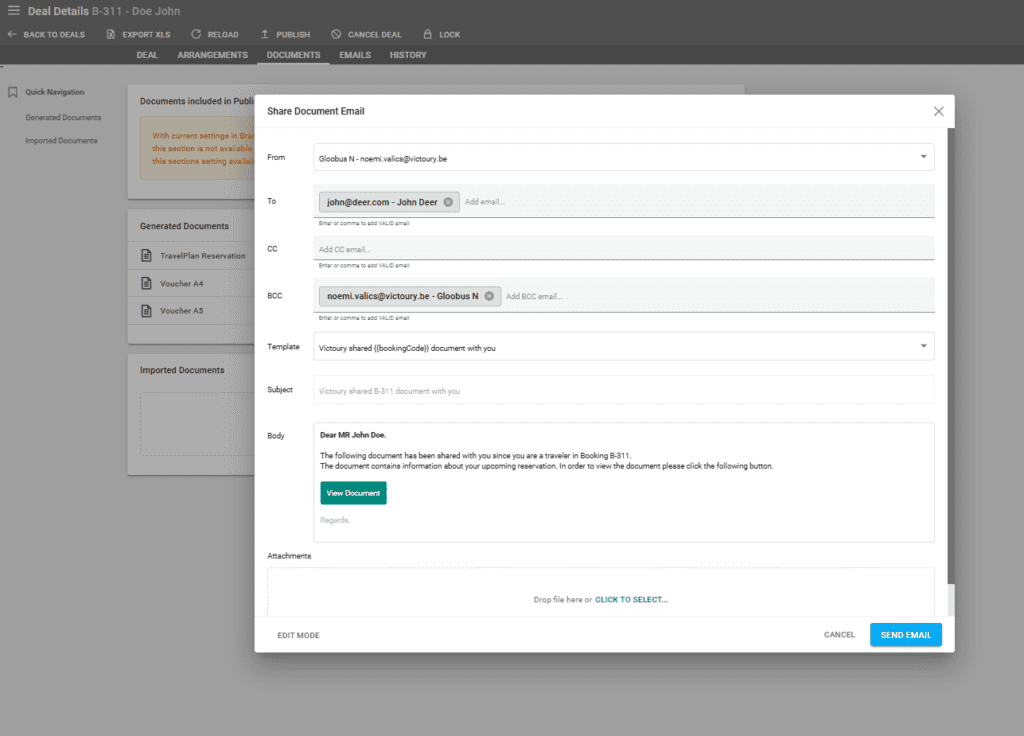
After the generation process is complete, click on EMAIL.
The email is sent From the email of the operator logged into Victoury -> To the email of the Main Person of the Customer. Select the Template and SEND EMAIL.
Mulitple email addresses can be added in the To, CC and BCC fields.
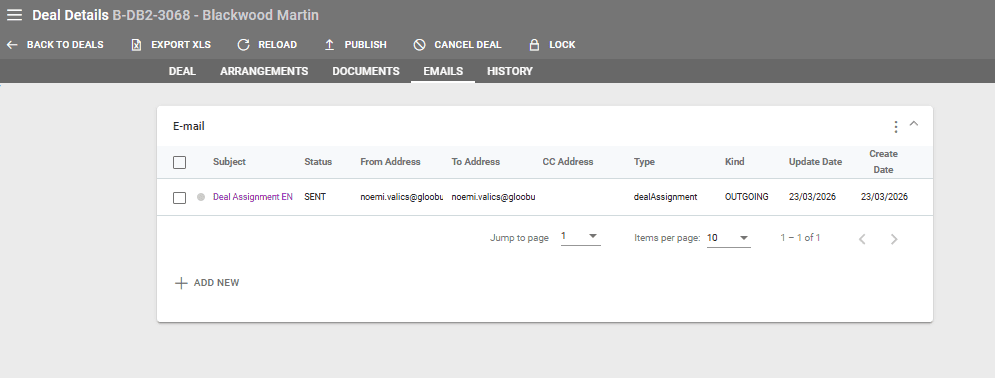
2. Deals – Emails Tab
In Deals, the Emails tab displays all emails sent relating to the deal.
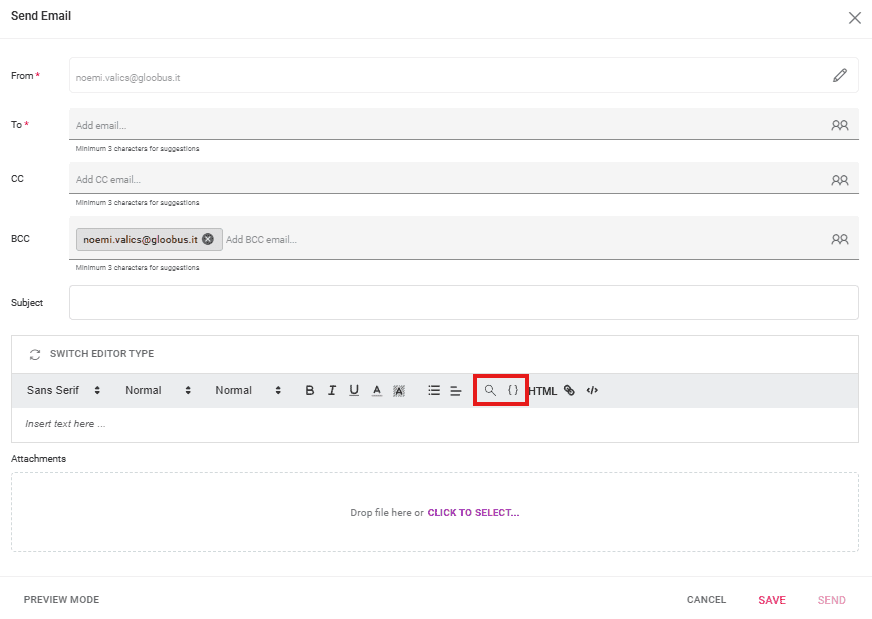
Additionally, using the + NEW MAIL button, you can send emails to customers not related to specific actions or documents.
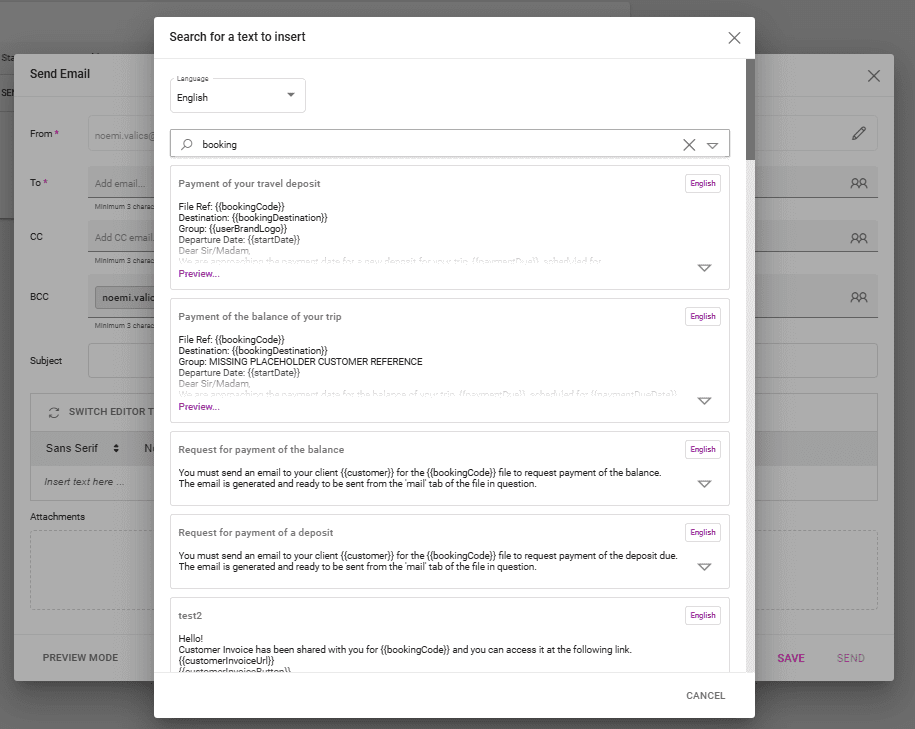
For the Body, you may use a Text Library entry (using the search option available) or freely enter any text of your choice.
The first highlighted icon opens a search window for text libraries, and the second icon opens a search window for placeholders.
3. Confirmation Email When Booking on Minisite
An email confirmation (Subject and Body) can be sent to the customer with the subject and text added in Victoury / Website / Email section. There are multiple settings here related to website connections. For more information, please contact your Victoury representative or our support team.
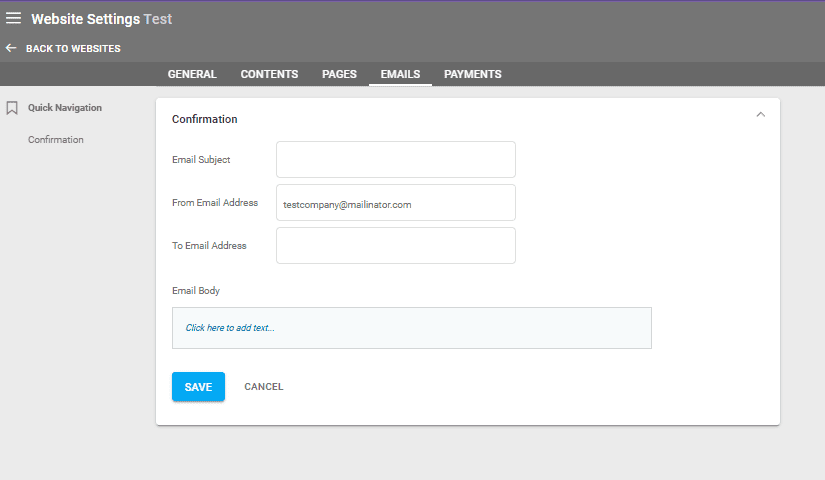
A copy of the email is sent to the email address as set in Settings/General/Email Address.
4. Supplier Quotes/Orders Email
For Option type deals, only a Quote can be created/sent.
For Booking type deals, both Quote and Order can be created/sent.
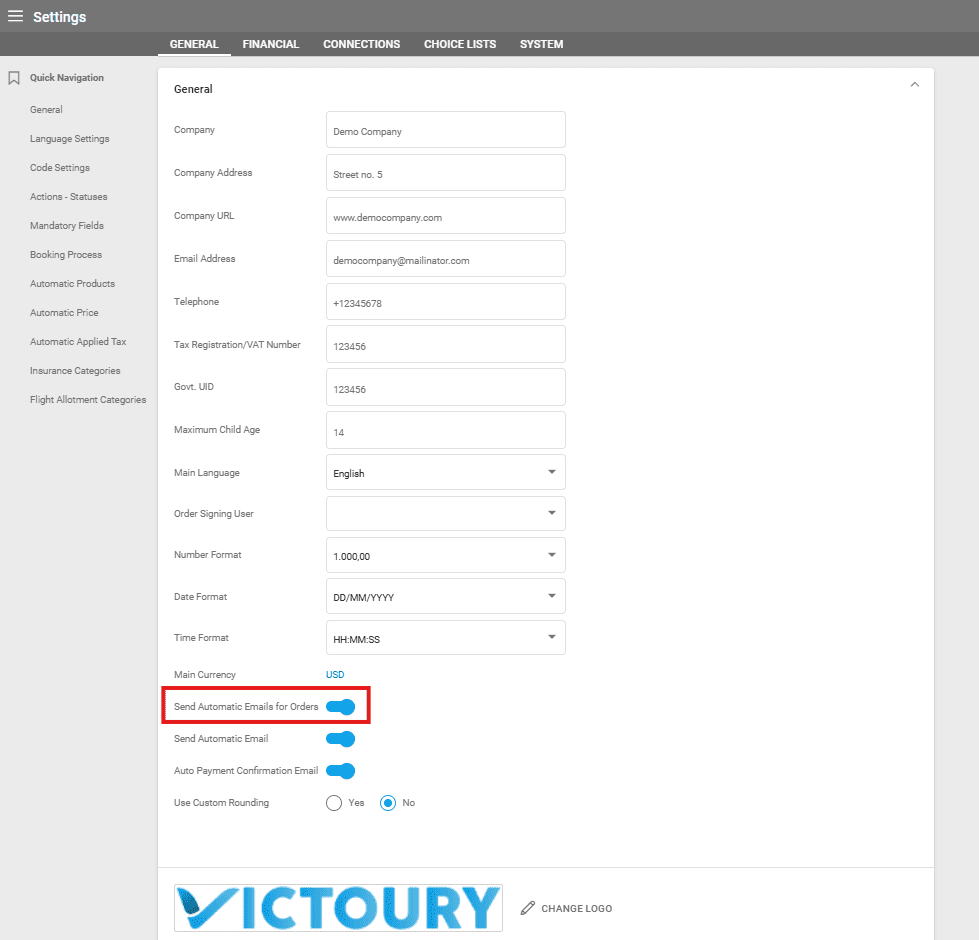
From the Main left menu – Settings, check “Send Automatic Emails for Orders” only if you want the emails to be sent automatically when the booking is saved. Otherwise, if you prefer to send them manually as further described, leave this setting unchecked.
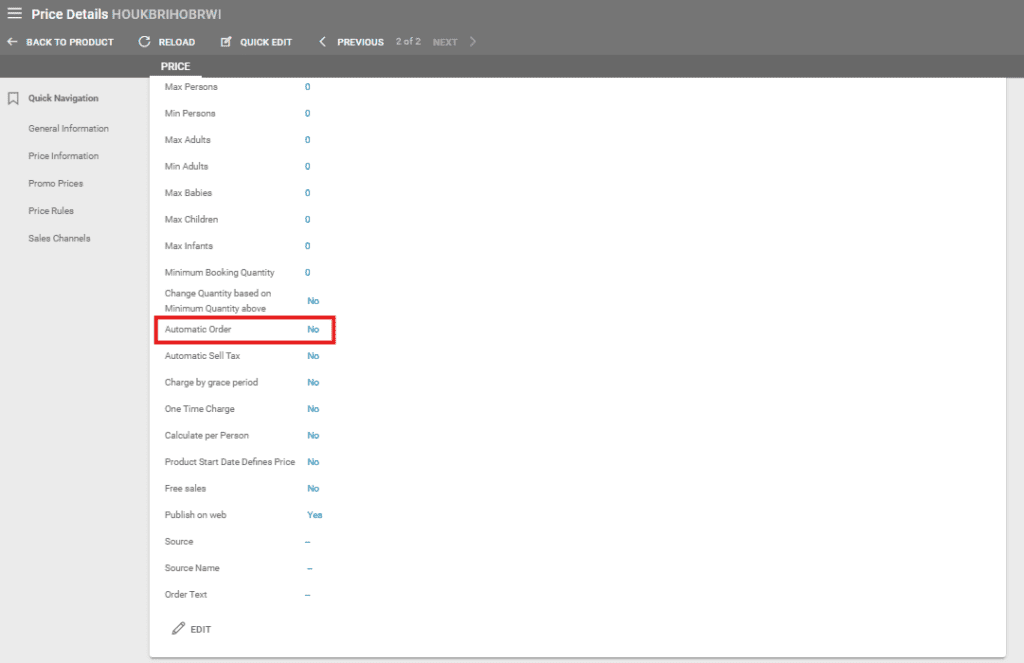
Additionally, for products whose prices require an email to the supplier upon booking – on Product, per Price, check Automatic Order.
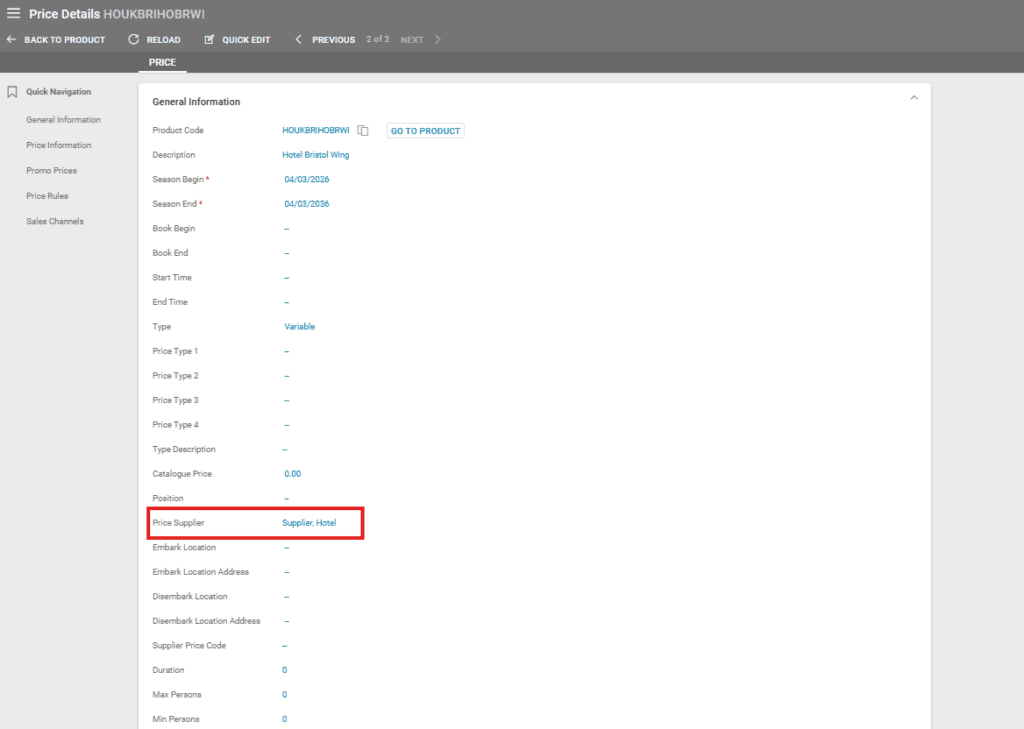
In product details, specify the Supplier in Price details/Price Supplier.
If all details are correctly set, when the product is booked, an order will be sent to the supplier. This order creates an entry in Operations/Order list.
Supplier orders are generated at the time of booking, meaning that each booking will have its separate supplier order, avoiding any confusion that the same order could refer to multiple bookings.
In case one booking contains more than one product/price from the same Supplier, and the Automatic Order setting is enabled for these prices, the generated Supplier Order will include as many arrangement lines as there are products/prices booked by the same Supplier.
If a booking contains products from different Suppliers with the Automatic Order enabled for their pricing, the system will generate as many Supplier orders as there are Suppliers.
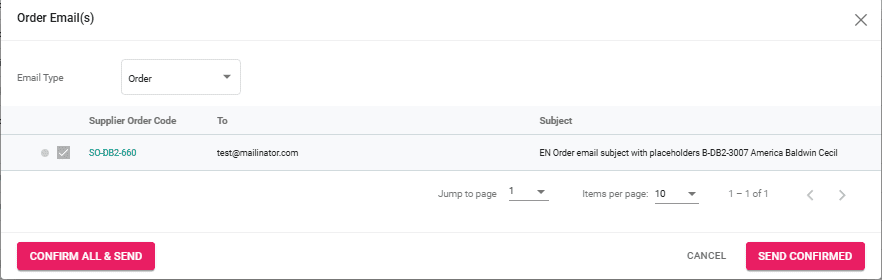
After the order is created, select the order and click on the edit icon and select Send Supplier order:
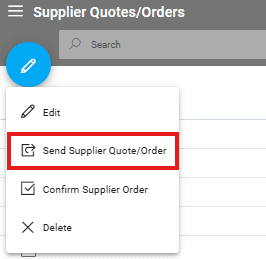
Multiple supplier quote/orders can be selected to be sent at once.
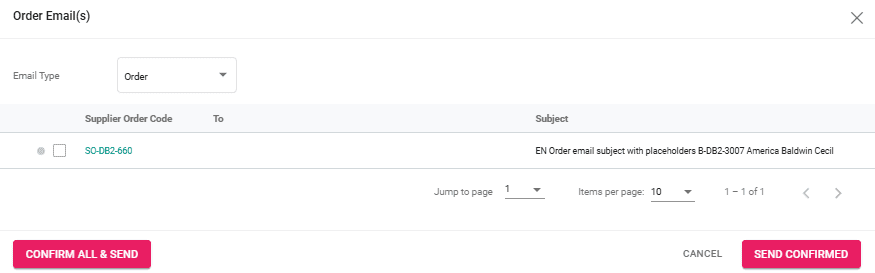
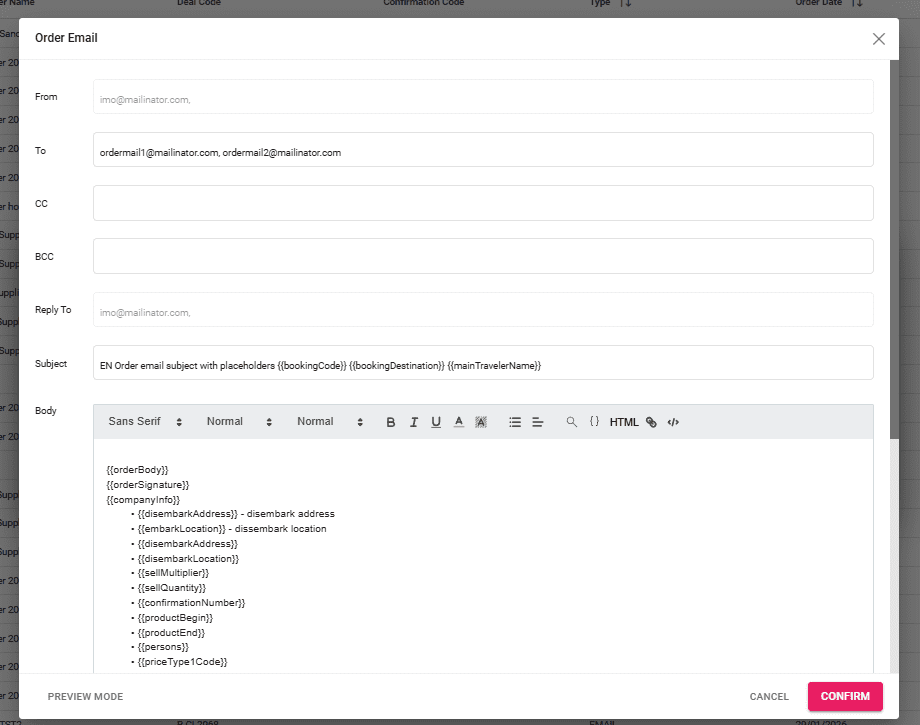
A new tab containing all selected orders will open. To view the content of an order, click on the order code and a new dialog box will open. In this dialog, there are editable fields: To, CC, BCC, the Subject, and the Body of the Order email, where you can add or remove placeholders defined in Victoury for Supplier Order Email sending.
Fields:
- From – taken from Settings/Order Signing User – if no user is set there, use the author of the order as set in Supplier order/Author
- To – taken from Supplier Contact Info where Type is set to Order E-mail;
- ReplyTo – taken from Settings/Order Signing User – if no user is set, use the currently logged-in user;
- CC – allows the operator to add any email address
- BCC – allows the operator to add any email address
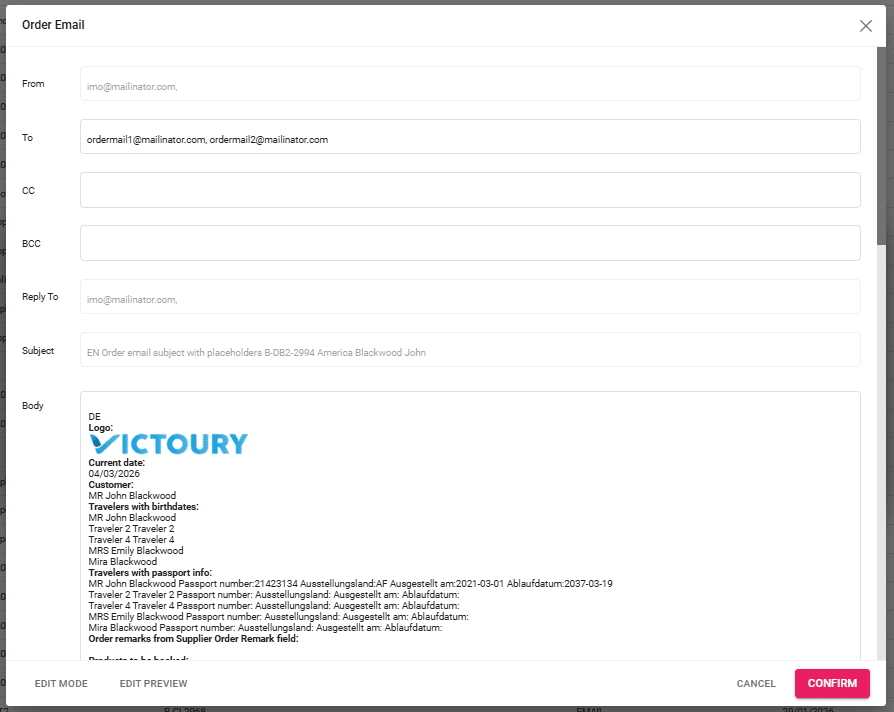
When the editing of the Order Email is completed, you may use PREVIEW MODE to review all information retrieved (this action replaces the placeholders), and if everything is as desired, click the CONFIRM button.
Once the Email Order is confirmed, the order line is marked as checked and you can proceed to send the email using one of the SEND buttons.
The templates used for sending Order Email must be defined in the Text library.
Text Library Entries Used
The Order Email will be constructed using the text library entries below by labels:
OrderEmail or supplierQuoteEmail – general text library entry where the label is “orderEmail” or “supplierQuoteEmail,” including the below text library entries using placeholders:
- orderHeader – text library entry where the label is “orderHeader”
- orderSubtext – text library entry where the label is “orderSubtext”
- orderBody – text library entry where the label is “orderBody”
- orderProduct – text library entry by product category where the label is “orderProduct”
Placeholders Used
Subject
value from the title of the text library entry where the label is “orderEmail”
Placeholders
- {{bookingCode}}
- {{bookingDestination}} (first destination related to the reservation)
- {{mainTravelerName}} (salutation personal name family name of the main traveler)
Message
Formed by the sections below:
- Header – placeholder for {{ orderHeader}} value from Supplier/Order Header – if no value found there, use text library entry where label = orderHeader
- Subtext – placeholder for {{ orderSubtext}} value from Supplier/Order Text – if no value found there, use text library entry where label = orderSubtext
- Body – placeholder for {{orderBody}} value from text library entry where label = orderBody
Placeholders
- {{logo}} value for Logo (brand logo – if no brand, logo from settings/general) {{currentDate}} value: current date (dateFormat as in parameters) {{customer}} salutation personal name family name of the main person of the customer
- {{travelersWithBirthdates}} salutation personal name family name of the travelers and their birthdates (dateFormat as in parameters)
{{travelersWithPassportInfo}} salutation personal name family name of the travelers and their passport information for each traveler - {{orderRemark}} Value from Supplier Order Remark field
- Order Products – placeholder for services to be booked {{orderProduct}}, for each product of the order, the value from the body of the text library entry where the label is “ orderProduct ” based on product category – where the product category is the same as the text library entry category
Placeholders for products retrieving information from Arrangement:
- {{orderProductOrderText}} – Order text
- {{orderProductOrderRemarks}} – Order Remark
- {{orderProductProductCode}} – Product code
- {{orderProductProductName}} – Product name
- {{orderProductProductBegin}} – Begin date
- {{orderProductProductEnd}} – End date
- {{orderProductStartTime}} – Product start time
- {{orderProductEndTime}} – Product end time
- {{orderProductCountryArea}} – Country Area
- {{orderProductReservationText}} – Reservation text
- {{orderProductPriceType1}} – Price Type 1 label
- {{orderProductPriceType2}} – Price Type 2 label
- {{orderProductPriceType3}} – Price Type 3 label
- {{orderProductPriceType4}} – Price Type 4 label
- {{arrangementTravelers}} – Assigned travelers
- Footer
Placeholders
- {{orderSignature}}
If a user is marked as orderSigningUser in General settings, the Signature – in multiple languages of the selected user is retrieved
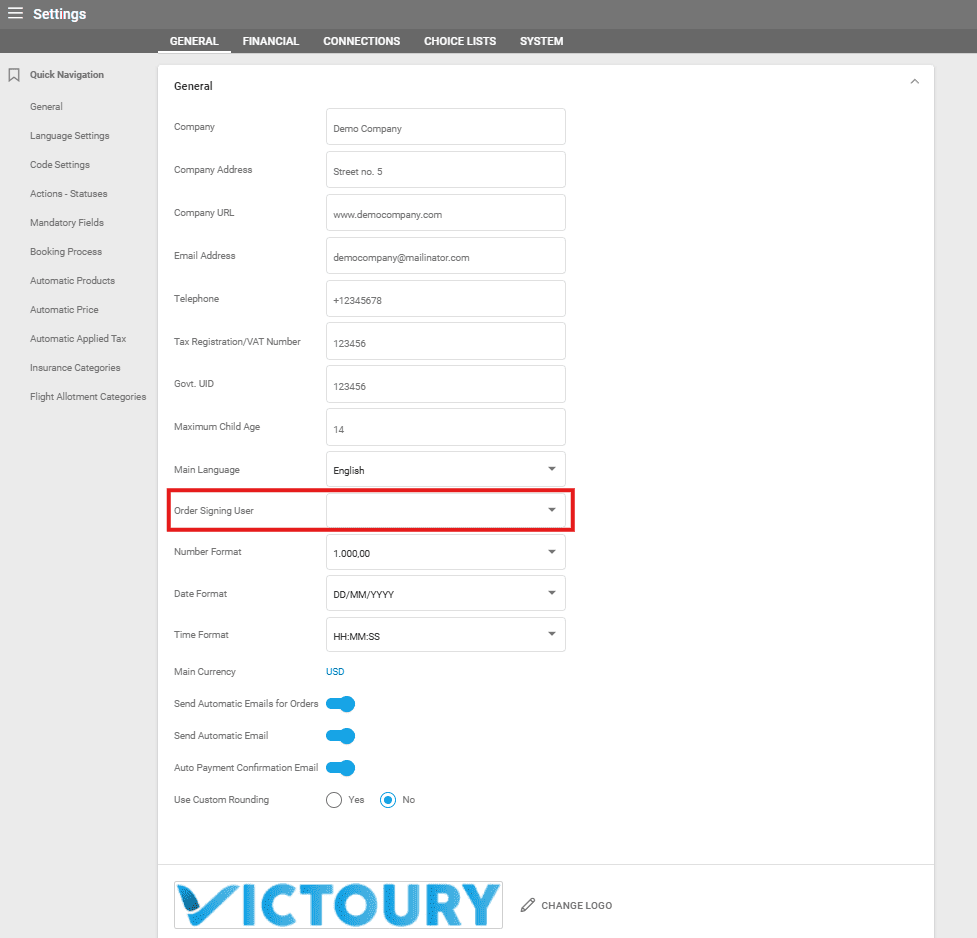
If no orderSigningUser is set, the signature of the author of the order is retrieved
- {{companyInfo}} – If a brand is set at the reservation level, we use the brand’s name, address, phone, and email. If no brand is set, we use the data from settings/general.
Example of Text Library Entry for supplierQuoteEmail

Example of Text Library Entry for orderEmail

5. A Task Is Assigned to A Victoury User
Please refer to the article on how to assign a task and import a task into a calendar.
6. Assigning a Pipeline Card to A Victoury User
Please consult the article on Pipeline management.
7. Payment Reminders And Other Scheduled Emails
For additional details, please get in touch with us.
8. Deal Details – Operations – Customer Invoice Sending
Once the invoice is created, you may send it to your customers using the EMAIL button available:
- From – the email address of the logged-in user is selected by default, but this is an editable field allowing the selection of another user’s email if necessary.
- To – the email address of the main person of the customer, also an editable field
- Template – select the appropriate one already entered in the Text Library
Note!
You may respond to any email using the Reply button available in the Email details, for both Incoming and Outgoing emails.
For details about Incoming (Email import) email feature, see the relevant guide.